How to Specify Role Permissions for User Accounts
Overview: In Vymo, roles dictate the capabilities and views accessible to a user. For instance, administrators often possess expansive control with numerous menu options, whereas an agent might have limited access. To cater to various organizational needs, Vymo lets you customize permissions for each role.
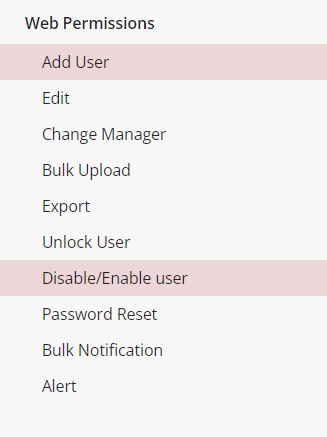
Categories of Permissions: 1. User Permissions: These permissions pertain to the user-specific actions in the application and are only available on the web and not on the App. 2. Module Permissions: These deal with access and control over various modules within the app.
| Permission Action | Outcome When Enabled | Details |
|---|---|---|
| Add User (Web) | Users can create a user account. | Choose roles that can initiate user account creation. |
| Edit (Web) | Users can modify user account details. | Designate roles that can edit user details. |
| Change Manager (Web) | Users can modify the reporting manager of an individual. | Determine roles that can adjust a user's reporting manager. |
| Bulk Upload (Web) | Users can bulk-upload user accounts via spreadsheet. | Assign roles capable of executing multiple user uploads at once. |
| Export (Web) | Users can download a user account list. | Decide which roles can retrieve a comprehensive user list. |
| Unlock User (Web) | Users can unlock accounts post inactivity. | Choose roles that can reinstate locked accounts. Note: Locked accounts still count for licensing. |
| Disable/Enable User (Web) | Users can alter account accessibility. | Determine roles that can toggle user account statuses. |
| Password Reset (Web) | Users can reset user passwords. | Identify roles with password reset capabilities. |
| Bulk Notification (Web) | Users can notify multiple users simultaneously. | Pinpoint roles that can mass-notify users. |
| Alert (Web) | Users can send notifications to individual users. | Choose roles that can issue notifications to specific users. |
Prerequisites: Ensure the role you're configuring permissions for already exists.
Step-by-step Guide:
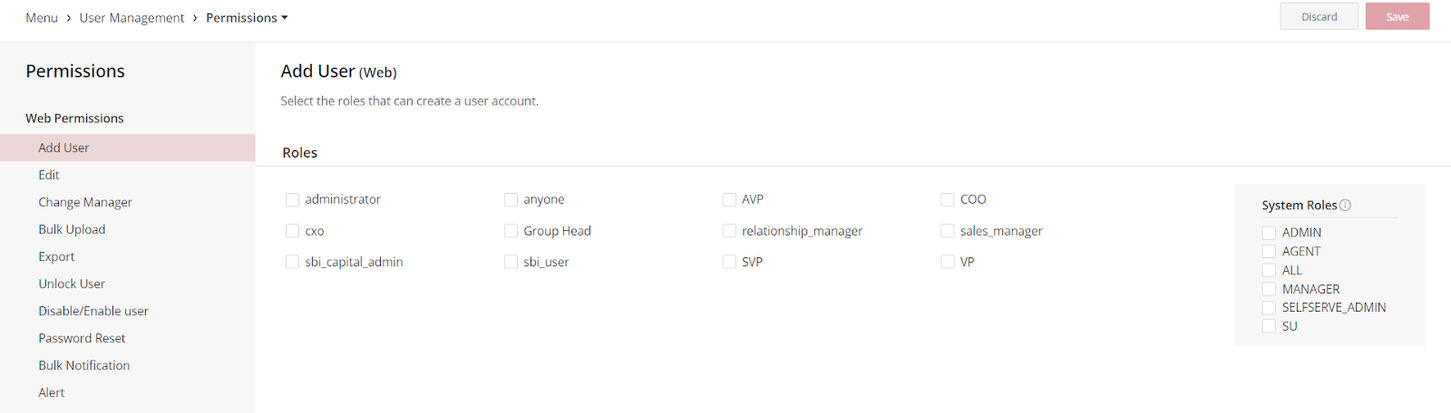
1. Access Vymo: - Sign in to the Vymo web app and tap the gear icon situated at the upper right.
2. Navigate to Permissions: - Inside the "User Management" category, select "Permissions".
3. Customize Role Access: - For each action listed, designate roles that are allowed for those actions. If an action remains unassigned to any role, the corresponding feature won't appear on the app. - Pro Tip: Each action comes with an associated tooltip for clarity. Hover over the info icon for detailed explanations.
4. Save & Finalize: - Once satisfied with your configurations, click "Save" located at the top right. Finally, proceed to release your modifications.
See also
- Roles Configuration