Importing activities through a bulk upload
If data import is enabled for your company, you can upload a spreadsheet to create several activities at once. You can create activities with leads, partners, or your own team (users).
Prerequisites
Before you begin, make sure you have the requisite permissions. See Enabling the import and export of data.
Steps
For importing activities, you upload a spreadsheet that contains the activity details. One file can contain only one spreadsheet. Therefore, to import data for more than one activity, create a separate spreadsheet for each activity.
Tip
The column names in the upload file must be the same as the field labels in the activity configuration. If you want the column names to be something else, change the labels at User Management > Activity Management. The labels can be in any language.
- Log in to the Vymo web app and click the gear icon :octicons-gear-16: in the upper-right corner of the screen.
- In Global Settings section, click JSON Configuration.
- Locate the
activityImporterConfigobject and expand theactivityImporterColumnMappingsobject. - Prepare a list of the keys in the object. For example, in the
voVymoIds: Partner Vymo Idsparameter,voVymoIdsis the key andPartner Vymo Idsis the value. Values correspond to the column labels in the spreadsheet. You need values for the following mandatory parameters:actionmoduleNameactivityNameassignee- Either
voVymoIdsorvoExternalIds(but not both) if the activity is a leads or partners activity meetingDatemeetingTimedurationInMins
- Note the field names of other parameters that are configured for this activity. To get these values, click User Management > Activity Management or Module Settings > the module of your choice > Activity Management, and then note the labels for the fields for the
schedulestate and thelogstate. - Create a
.xlsxfile, where the column names are exactly the same as the values that you noted in the previous step. -
Enter the activity details. Use one row for each activity, and enter the values like this:
action, the value of which can be eitherscheduleorlog, but not anything else.moduleName:- For a lead or partner activities, the value is the module name (get it from Module Settings > Module Name Settings).
- For internal activities, the value is always
user.
activityName, for the name of the activity.assignee, for the employee code of the assignee (get it from Manage Users).participants, for a comma-separated list of the employee codes of participants (get these from Manage Users).- Either
voVymoIdsorvoExternalIds, but not both, for associating the activity with a lead or partner record. This is the ID that Vymo uses to recognize lead or partners. meetingDate, for the date, formatted in any of the Microsoft Excel date formats.meetingTime, for the time, formatted in any of the Microsoft Excel time formats.durationInMins, for a integer for the meeting duration.- The additional fields for the activity. The values for the mandatory fields are required. If the file doesn't contain the mandatory values, the upload action will fail.
The following image shows the column names of an example upload file.

-
Return to the Vymo app and click Activities > Bulk upload. If you don't see this option, your role doesn't have the requisite permissions. Specify the roles that can import activities using the following steps:
- Go to Global Settings > Dashboard Configurations, and locate the
Activity Bulk Uploadconfiguration. - Select the checkbox for Enable dashboard access.
- Go to the Allowed For Roles section, and click the field to select the roles that can import activities.
- Click Save and release the changes.
- Go to Global Settings > Dashboard Configurations, and locate the
-
Browse to select the
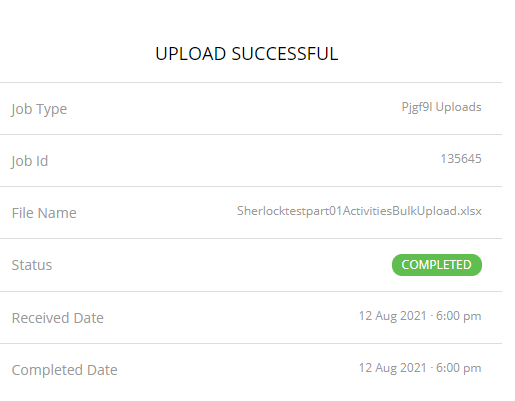
.xlsxfile, and click Upload. - Wait for the file to be uploaded. When the process in over, it's listed on the Upload History page, together with the Job ID and status.
- Verify that the upload process was completed without any error. To do this, click the row containing the job details. You see something similar to the following image. To see a summary of the upload action, click Summary File.