Activity Config Guide
Introduction
Welcome to the Self-Serve Activity Management Configuration Guide for Vymo. This guide is designed to offer a comprehensive walkthrough on how administrators can configure activities for different modules and users. By the end of this guide, you will be proficient in setting up, editing, and managing activities and their groups within the Vymo platform.
Pre-requisites
Before you begin, it's crucial to have: - Administrative access: Ensure you possess the required permissions to modify and configure the Vymo platform settings. - A clear understanding of your organization's operational needs to tailor the configurations accordingly.
Configuration Steps:
Accessing the Configuration Panel:
Initial Steps:
- Start by logging into the Vymo web application using your administrative credentials.
- Once logged in, locate the gear icon, a symbol of the settings menu, at the upper-right corner of the main dashboard.
- Click on this icon to access the central configuration panel.
Understanding and Navigating Activity Configurations:
- Choosing the Module:
- For activities specific to leads or partners, proceed to the Module Settings.
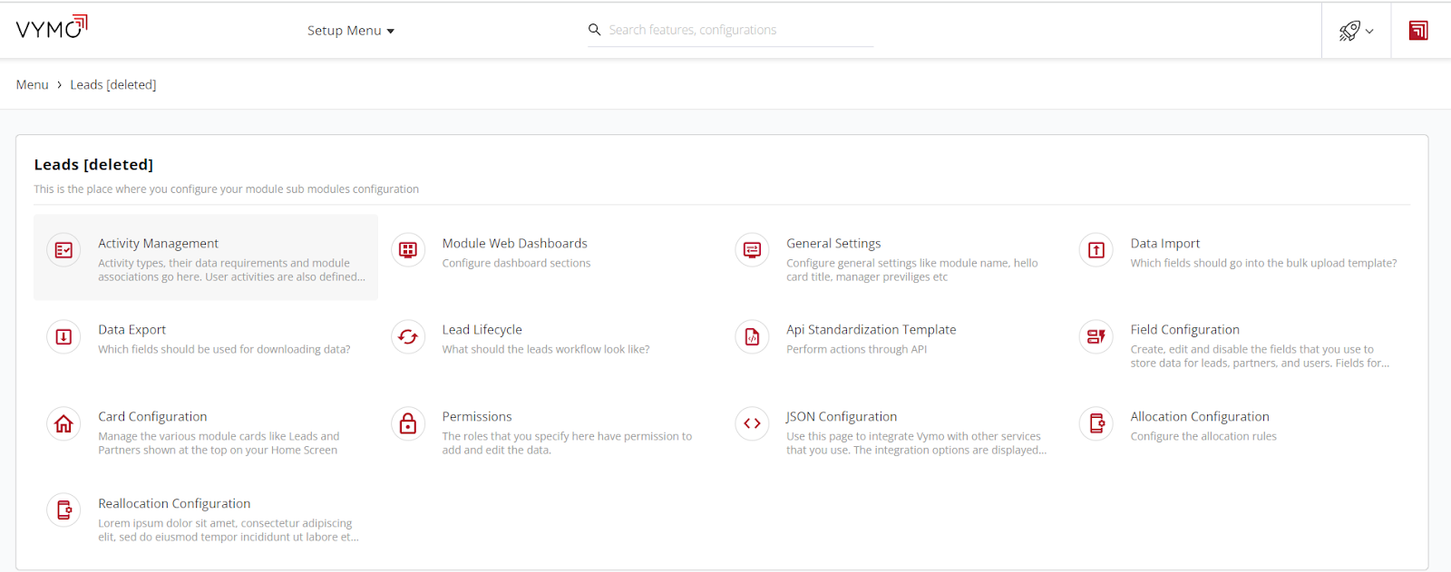
- For more generic activities, head straight to the User Management section and then select Activity Management.

Viewing and Interpreting Existing Activities and Groups:
- Overview:
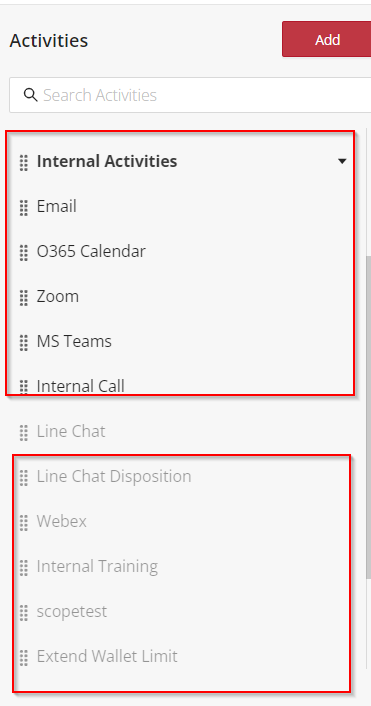
- Within the Activity Management section, you'll be presented with a list showcasing all previously configured activities and activity groups.
- Activities that are part of a larger group will be shown with visual indentation, offering a hierarchical view.
- Activities that have been disabled or are inactive will be distinctly highlighted, ensuring quick identification.
Utilizing the Search Feature:
- Functionality:
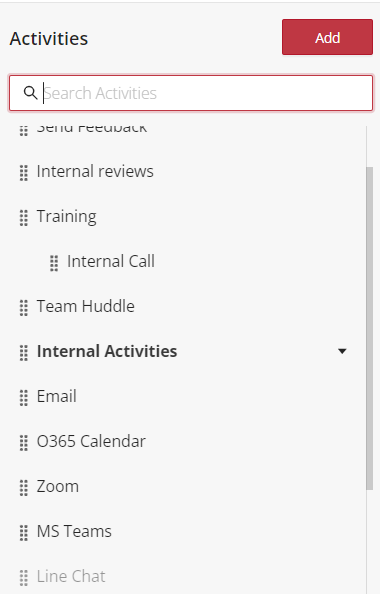
- Use the search box to find specific activities or groups. The system dynamically filters and displays matches.

Reordering Activities or Groups for Better Organization:
- The Need:
- Over time, as you add more activities or groups, you might find the need to rearrange them for better clarity or organizational structure.
- The Process:
- To reorder, simply drag the activity or group to your desired location within the list.
Adding New Activities or Groups: Expanding Your Operations:
- Initiation:
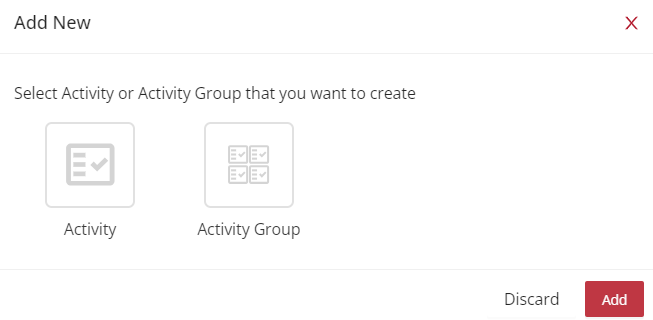
- Click on the Add button, prominently displayed within the Activity Management section.
- A drop-down menu will present you with options: either Activity or Activity Group.
- Choose the one that aligns with your current need and proceed.
Detailed Configuration:
- A series of fields and options will be displayed, prompting you for details about the new activity or group.
- Take your time to fill in these details, ensuring accuracy and alignment with your operational needs.
Editing Existing Activities: Making Necessary Adjustments:
- Accessing the Edit Mode:
- Navigate to the activity you wish to modify within the list and simply click on it.
- In-depth Modifications:
- Once in edit mode, a plethora of settings and configurations related to that activity will be available for modification.
- Adjust settings, redefine roles, or even enable/disable the activity based on current requirements.
- After making your changes, always ensure you save them. Otherwise, they won't take effect.
Crafting Activity Groups: Organizing Related Activities:
- Initiation:
- Click on the Add button but this time choose Activity Group.
- Provide a distinct name for this new group, ensuring it clearly signifies the activities it'll house.
- Group Configuration:
- Next, you'll be presented with a list of all available activities and existing activity groups. Here, you can choose which ones to include in your new group.
- Remember, at least one activity or group must be selected for the new group to be saved.
- Additionally, you can specify which roles can access and view this activity group, providing another layer of customization.

Diving Deep into Activity Configuration:
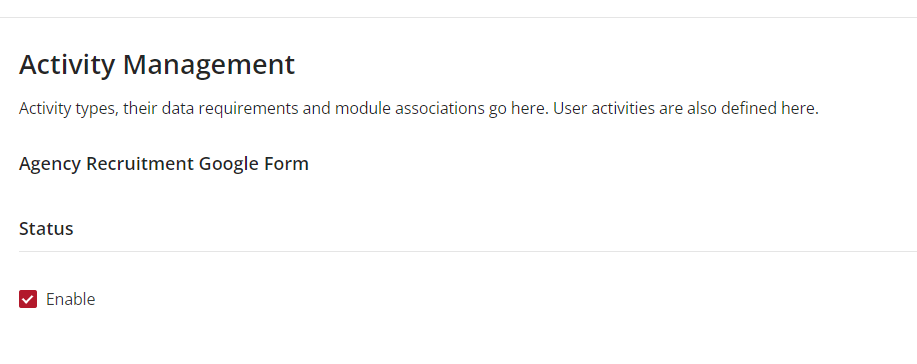
- Status:
- Decide the operational status of the activity. Do you want it active and available, or do you want to temporarily disable it? This section lets you make that decision.
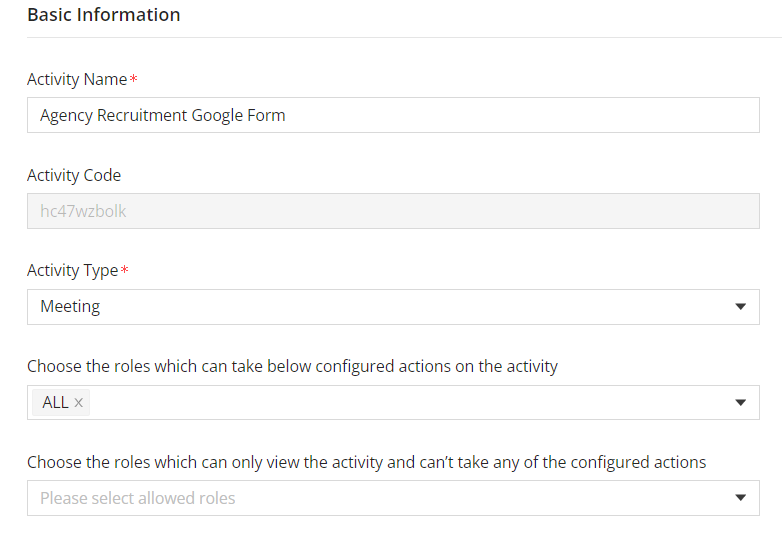
- Basic Information:
- This section captures the core details of the activity. What's its name? What type of activity is it? Which roles should have access to it? Ensure each field is filled out with clarity.
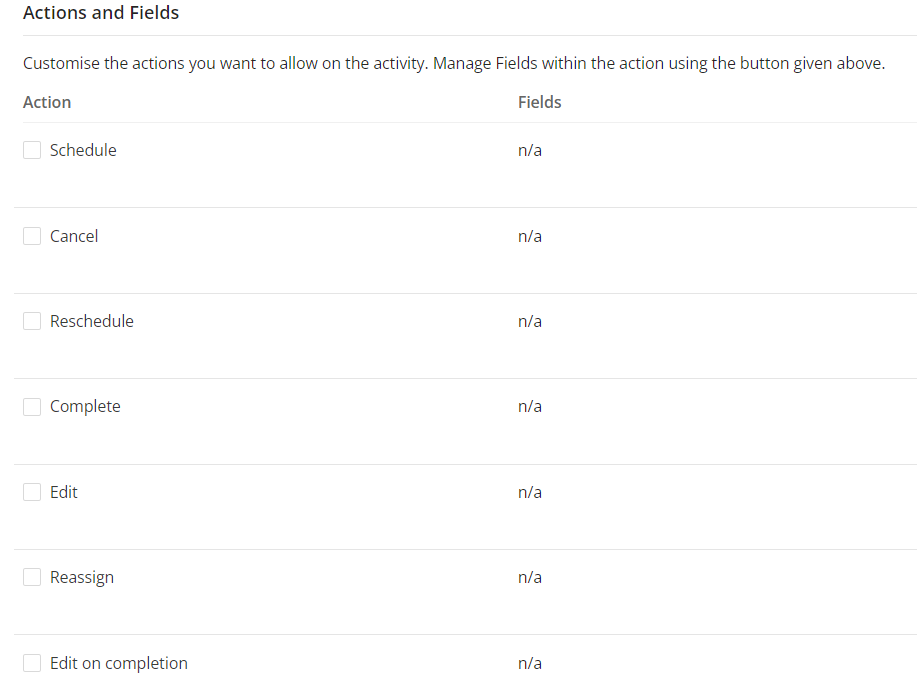
- Actions and Fields:
- Activities in Vymo are dynamic. Depending on what the activity is, different actions can be associated with it. This section allows you to define those actions.
- Further, for each action, you can specify which fields should be displayed, ensuring users get the right information at the right time.
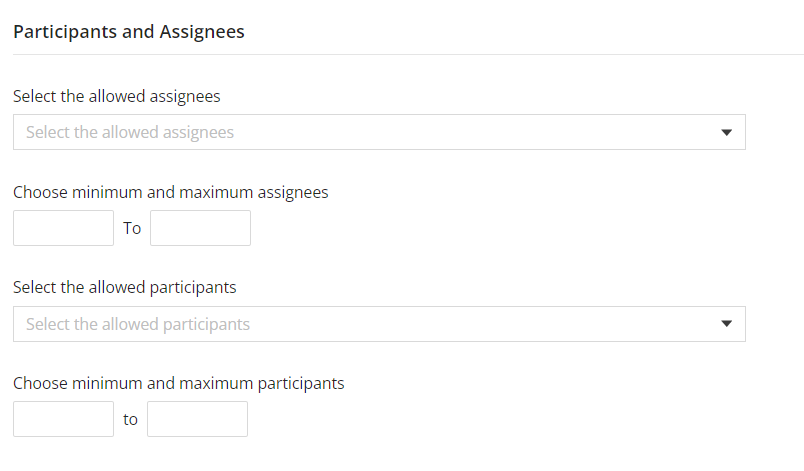
- Participants and Assignees:
- Activities often involve multiple individuals. Here, you can define who can participate in the activity and who can be assigned to it.
- Define numbers (minimum and maximum) for both participants and assignees, ensuring operational clarity.
Advanced Settings:
- Single/Multi Select Module Records:
- Admins have the choice to select either a single record or multiple module records when scheduling or logging activity.
- This feature is exclusively available for module-level activities and is not applicable to user activities.
- Admins can also configure the minimum and maximum number of records that can be selected if the multi-select option is chosen.
- Enable Authorization:
- This functionality allows administrators to define additional authorization layers for certain activities.
- Rollup Configuration:
- The rollup configuration pertains to how activity data is aggregated and displayed.
- Recurring Activities:
- Admins can set certain activities to recur, meaning they can be scheduled to repeat periodically.
- Auto-close:
- Admins have the option to set an activity to automatically close after a certain duration has passed.
- Behavior on Reschedule:
- Admins can define the behavior of the auto-close feature when an activity is rescheduled.
- Revisit Participant Selection on Completion:
- After an activity's completion, admins can decide whether participants can be reviewed or changed.
- Follow-up:
- Admins can opt to display a follow-up option upon the completion of an activity.
- Mark as (Engagement):
- Admins can categorize an activity as an engagement, which might be essential for tracking and reporting purposes.

Finalizing and Implementing Changes:
Saving and Releasing:
- Once you've made all your configurations, it's crucial to save your changes. Only then will they take effect.
- If there are any overarching changes or releases to be made, ensure you execute them for the configurations to be live.
See also
- Activity Management