Creating, Editing, and Logging Activities
Introduction
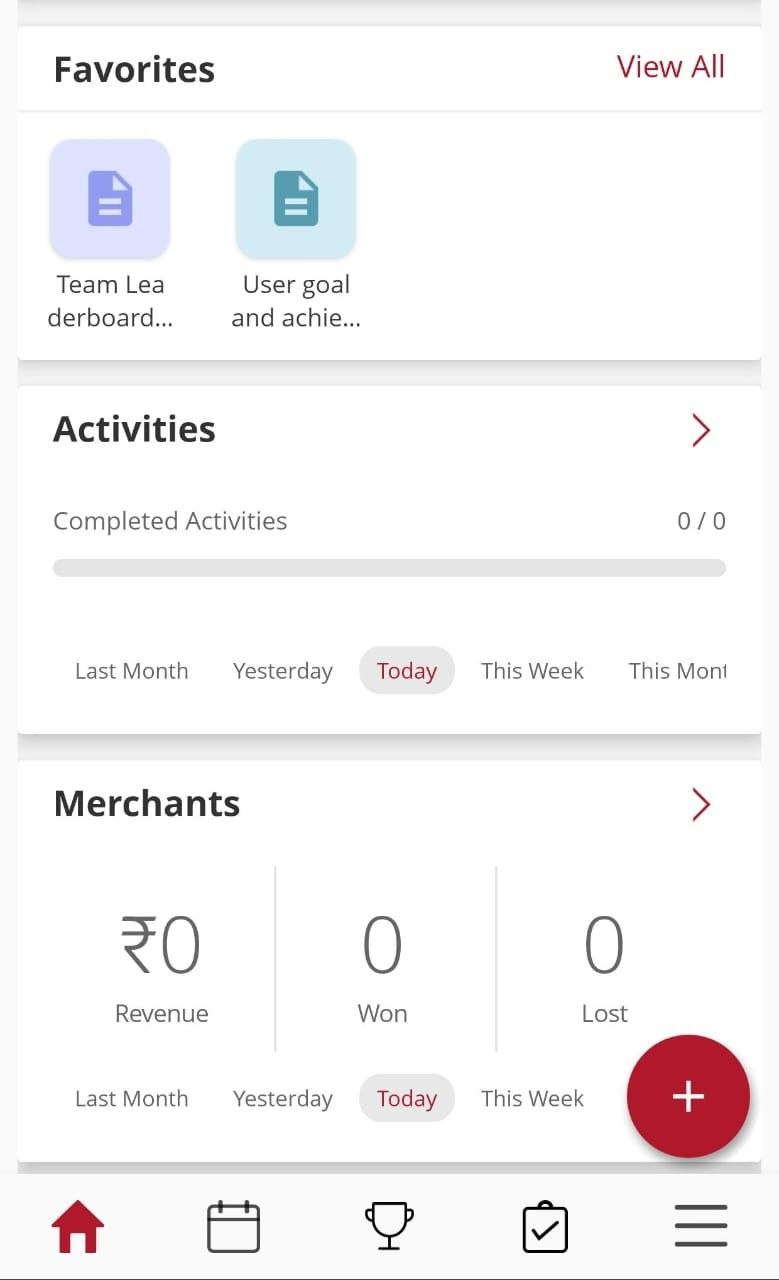
Activities in Vymo are essential tasks or interactions with leads, partners, or team members. Users have the flexibility to create, edit, and log these activities.
Creating an Activity
- Access the Vymo App: Log into the Vymo app.
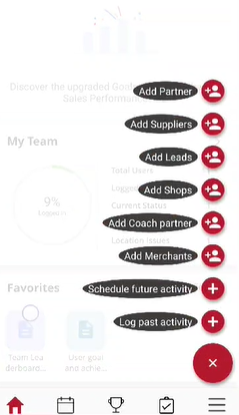
- Initiate Activity Creation: Tap the 'Plus' button and choose 'Schedule Activity'.
- Define the Activity: Select the module and refine your activity, filling out additional fields as necessary.
- Finalize the Activity: Complete all details and tap 'Submit'.
Editing an Activity
- Access Scheduled Activities: Open the 'Activities' section in the app.
- Select and Edit: Choose the activity to modify and tap the pencil icon to edit.
- Save Changes: Make necessary edits and confirm by tapping 'Submit'.
Logging an Activity
- Most activities are automatically logged; however, for others:
- Access the completed activity and provide any additional required inputs.
- Tap 'Complete' to finalize the logging.
Logging Activities Through the Calendar
- Access Vymo and Head to the Calendar: Open the app and go to 'Today's Calendar'.
- Select Date and Activity: Choose the relevant date and activity.
- Log or Schedule: For logging, tap the activity and 'Log Activity'. For scheduling, tap the 'Plus' button and choose 'Schedule Activity'.
Adding Tasks to Activities
- Prerequisites: Ensure the main activity exists in the system.
- Access Vymo Web App: Log into self-serve and navigate to Activity Management.
- Select Activity: Choose the activity to add tasks to.
- Input Subtasks: Add tasks as per the onscreen prompts.
- Save & Finalize: Click 'Save' and release the modifications.
Steps to Add Tasks to Activities
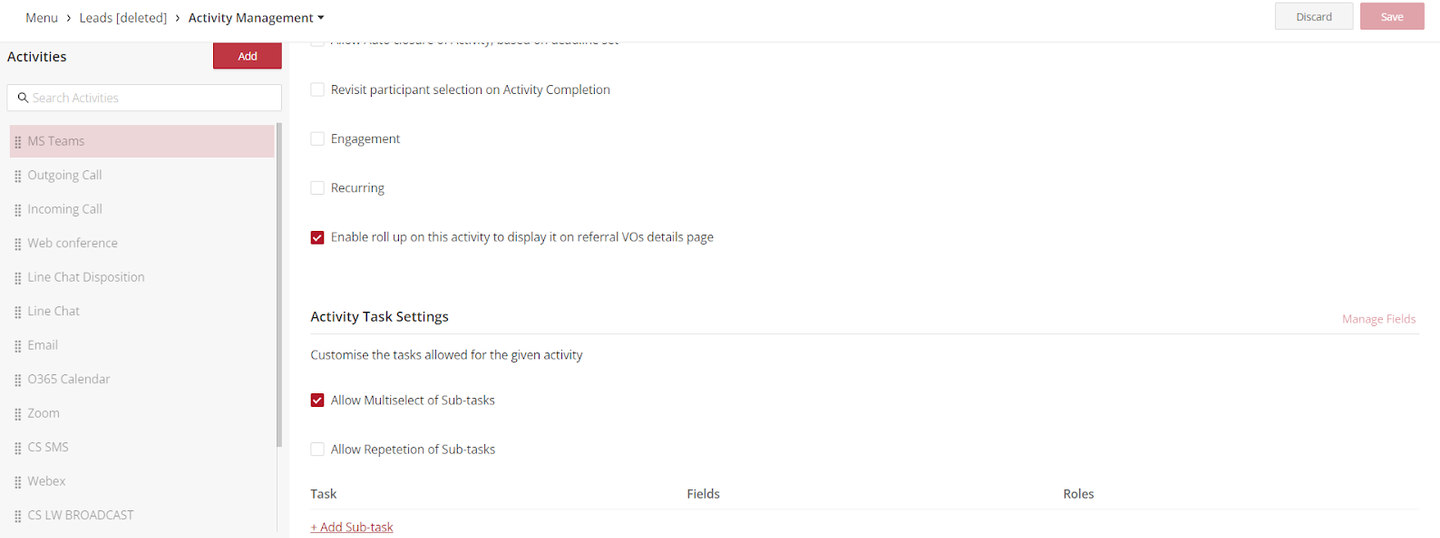 1. Navigate to Activity Management: Choose the type of activity (module-specific or generic) and select 'Activity Management'.
2. Select Desired Activity: Click on the activity you want to modify.
3. Add Subtasks: Scroll to the subtasks section, add tasks, and save changes.
4. Release Modifications: Ensure the changes are applied by releasing them.
1. Navigate to Activity Management: Choose the type of activity (module-specific or generic) and select 'Activity Management'.
2. Select Desired Activity: Click on the activity you want to modify.
3. Add Subtasks: Scroll to the subtasks section, add tasks, and save changes.
4. Release Modifications: Ensure the changes are applied by releasing them.
Logging Activities Introduction
Keeping a log of activities in Vymo is crucial for tracking progress and managing interactions with leads or partners. Vymo offers various ways to log or schedule activities, enhancing user convenience.
Logging an Activity
- Access Vymo: Open the app on your device.
- Initiate Activity Logging: Tap the 'Plus' button and choose 'Log Activity'.
- Fill in Activity Details: Select the activity, provide necessary details, and tap 'Add'.
Logging or Scheduling Activities through the Calendar
- Access Vymo and Head to the Calendar: Navigate to 'Today's Calendar'.
- Select Date and Log/Schedule: Choose the date, tap the activity to log, or use the 'Plus' button to schedule a new activity.
Note on Logging Activities
- Depending on your organization's configuration, logging an activity might change the record's state.
Adding Tasks to Activities Introduction
In Vymo, tasks within activities provide detailed insights into the progress of an activity. Tasks can be specific checkpoints or milestones.
Prerequisites for Adding Tasks
- Ensure the main activity exists before adding tasks.
Steps to Add Tasks to Activities
- Access Vymo Web App: Log into the self-serve.
- Navigate to Activity Management: Choose module-specific or generic activities.
- Select the Activity: Pick the activity to add tasks to.
- Input Subtasks: Follow onscreen instructions to add tasks.
- Save and Finalize: Save the changes and release the modifications.
See also
- Activity Management