Campaign Management
Introduction
This guide will walk you through the process of defining a campaign module within the Vymo web app, including naming your campaign, setting up a unique code, managing associated fields, and saving your configurations.
Navigating to Campaign Management
- Login to Vymo Web App:
-
Access the Vymo web application using your login credentials.
-
Navigate to 'self-serve':
-
Once logged in, find and click on the 'self-serve' option.
-
Access Campaign Management:
- Under the 'Global Settings' section, click on 'Campaign Management'.
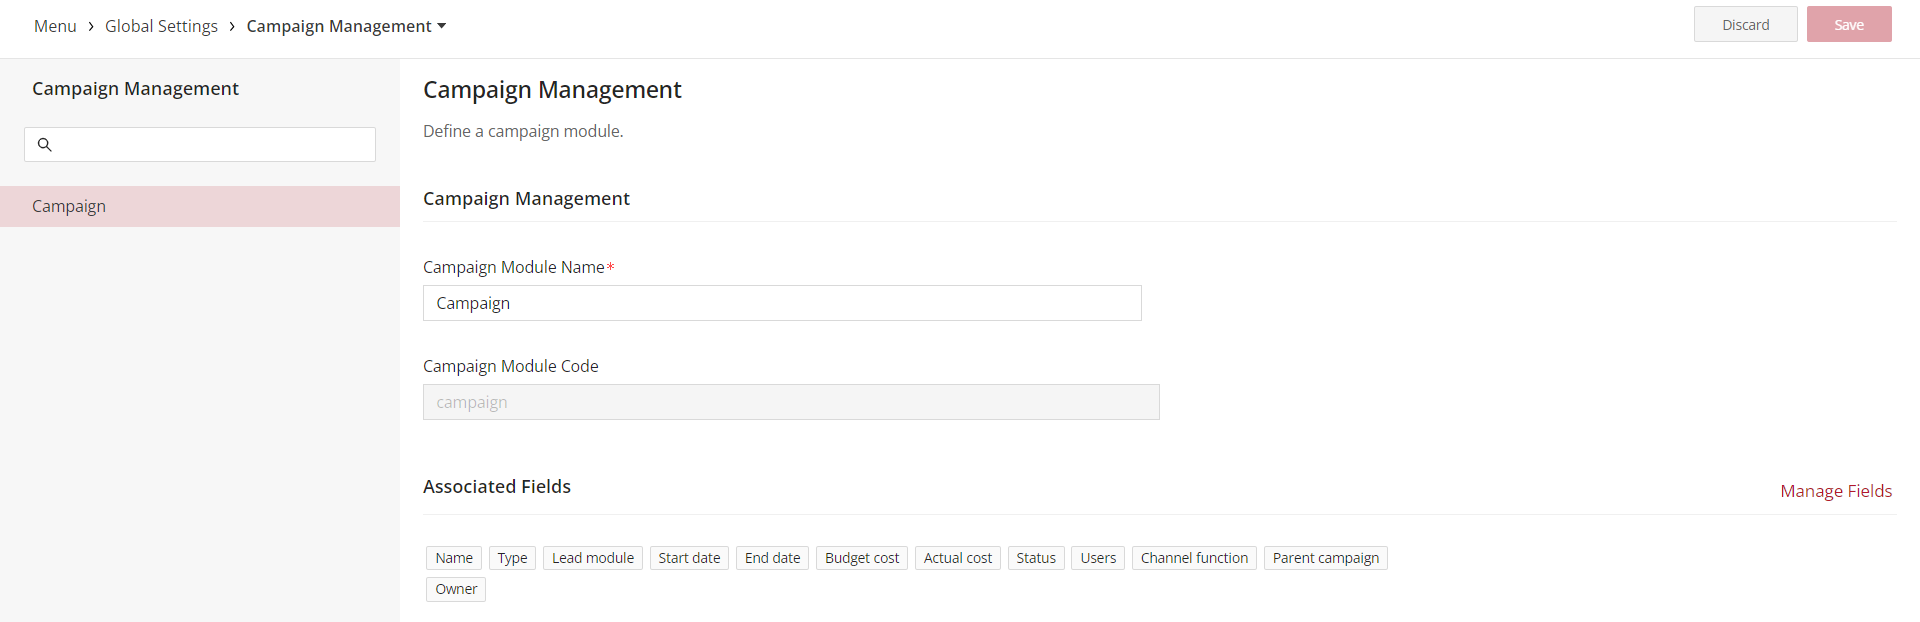
Configuring the Campaign Module
Campaign Module Name
- This is a mandatory field where you will input the name of your campaign. The name should be distinctive and reflective of the campaign's objectives or theme.
Campaign Module Code
- The campaign module code is pre-generated.
Associated Fields
- This section displays the list of data points or attributes that you can track for each campaign.
- To tailor these to your campaign's needs, you will use the 'Manage Fields' button.
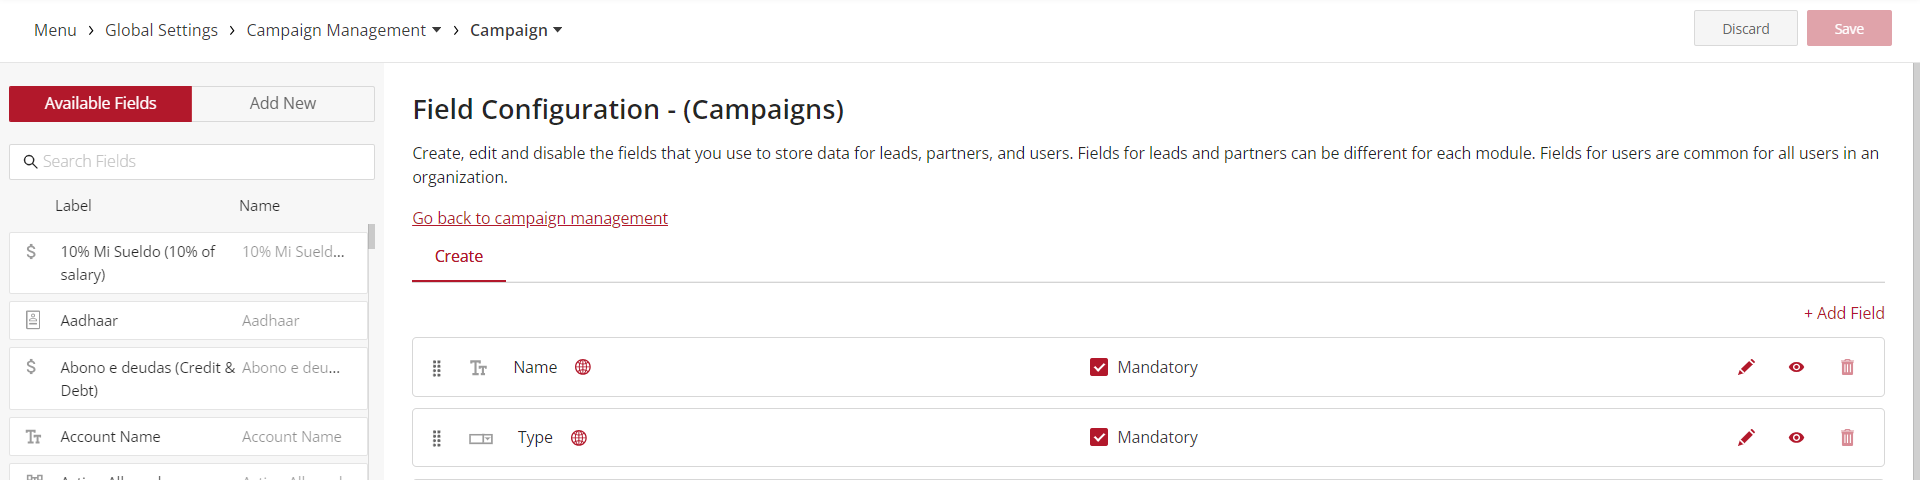
Field Configuration
- Clicking the 'Manage Fields' button will take you to the field configuration area.
Add/Delete/Reorder Fields
- Within this area, you can add new fields, delete unnecessary ones, or reorder them to match the flow of your campaign data entry.
- After making adjustments, be sure to save your changes to preserve the new field setup.
Saving and Releasing Campaign Module Configurations
- Return to Campaign Management:
- Once your fields are configured and saved, navigate back to the campaign management screen.
This completes the process of configuring your campaign module within the Vymo web app.