Enabling the Export of Data
Introduction
To facilitate seamless data management in Vymo, users must first enable import and export functionalities. This guide walks you through the steps to activate these features, ensuring data can be effortlessly transferred between the platform and external sources.
Prerequisites
Before diving into field configurations for modules or activities, activating the upload and download options at the company-wide and global levels is crucial.
Step-by-Step Guide
Accessing Global Settings:
- Launch the Vymo web application.
- Locate and click the gear icon situated in the top-right corner of your dashboard.
- Navigate to 'Global Settings'.
- Choose 'JSON Configuration' from the available options.
Enabling Data Transfer:
- Activate both the export and import functionalities.
Configuring Leads and Partners:
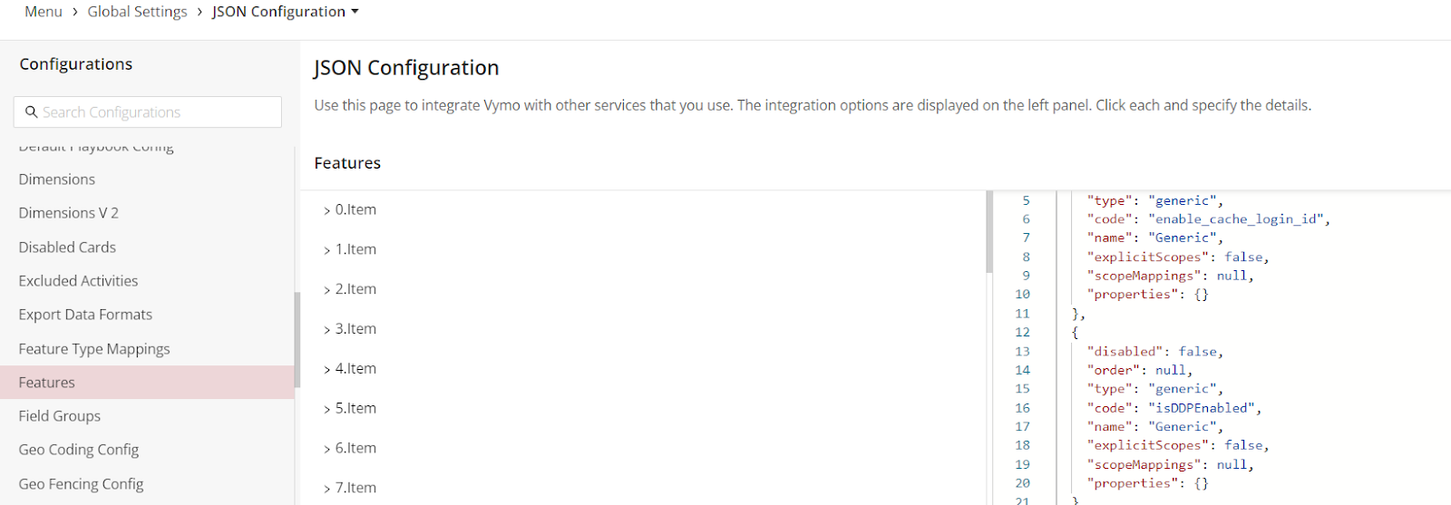
- Identify the 'Features' object.
- Integrate the following code snippet, ensuring that the 'disabled' key value is set to false: ```json { "type": "generic", "disabled": false, "order": null, "code": "isDDPEnabled", "name": "Generic", "properties": {} }
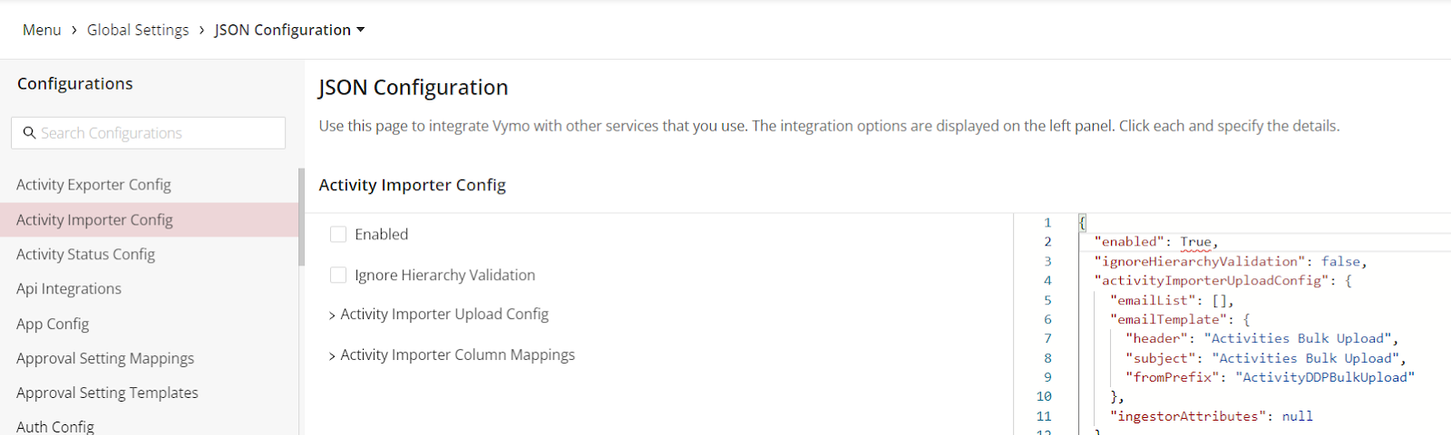
Setting Up Activities:
Search for the 'ActivityImporterConfig' object. Modify the 'enabled' parameter value to true: "enabled": true
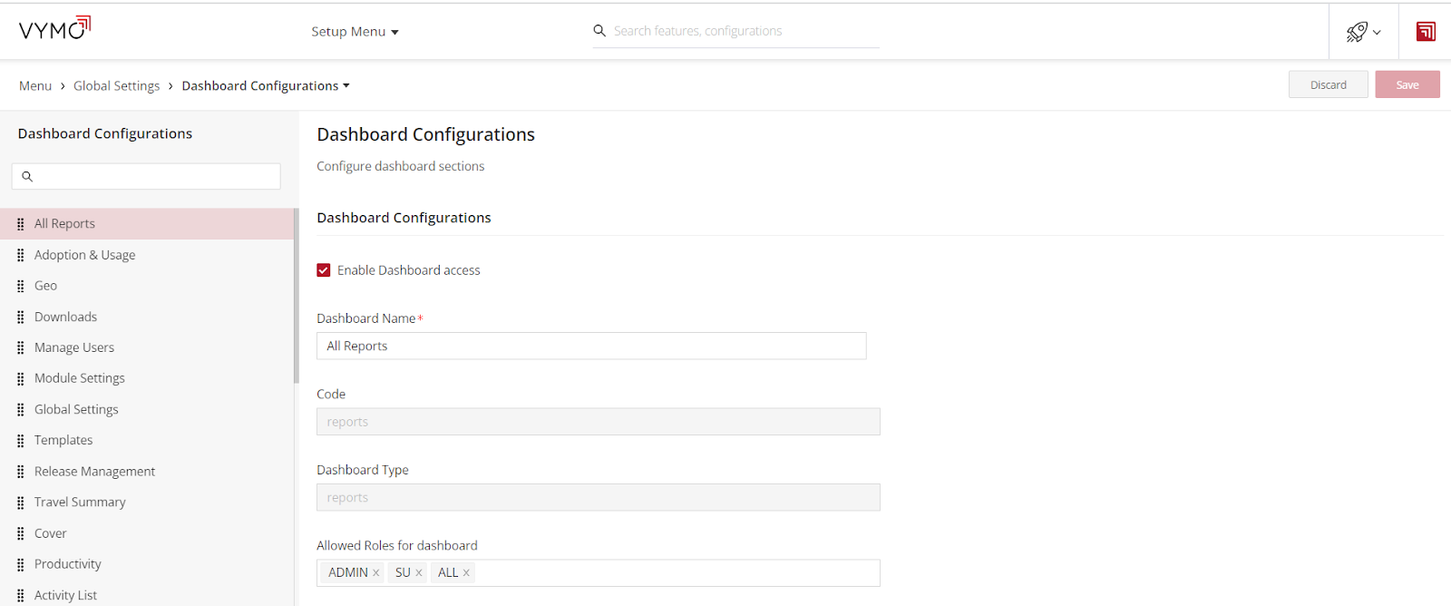
Role Specification for Activity Import: Return to 'Global Settings' and select 'Global Web Dashboards'. Within 'Dashboard Configurations', uncheck the 'Enable dashboard access' option. Scroll to 'Allowed Roles for dashboard'. Click inside the provided field to designate roles permitted to import activities.
Finalizing Changes: Click the 'Save' button to store your configurations. To make these changes live, ensure you release them.