How to Create Lead States
Introduction
Lead states depict specific stages in the lifecycle of a lead, starting from a "New" state and concluding with either a "Won" or "Lost" state. This guide outlines how to define these crucial stages in your lead's lifecycle.
Configuration Options
Here's a breakdown of the configuration options available for lead states:
| Option | Mandatory | Default Values | Configurable | Dependencies |
|---|---|---|---|---|
| Name | Yes | nil | Yes | - |
| Code | Yes | Autogenerated lowercase value | No | - |
| Color | No | nil | Yes (HTML hex code) | - |
| Tags | No | nil | Yes (Select from predefined tag options) | - |
| Input fields | No | nil | Yes (Select a field) | The field must exist |
Dependencies
- Lead states are components of modules.
- State creation isn't finalized until tags and transitions are added.
User Guide
Creating a state encompasses three steps: creating the state, adding the state, and transition addition. This guide focuses on the initial step and provides direction for the subsequent ones.
Steps to Create a State:
- Login: Access the Vymo web app and click the gear icon situated in the upper-right corner.
- Module Settings: Within the Module Settings section, select the module where states need to be outlined.
- Lead Lifecycle: Opt for "Lead Lifecycle", then press "+ Add State" (positioned on the right).
- State Naming: Assign a suitable name for the state.
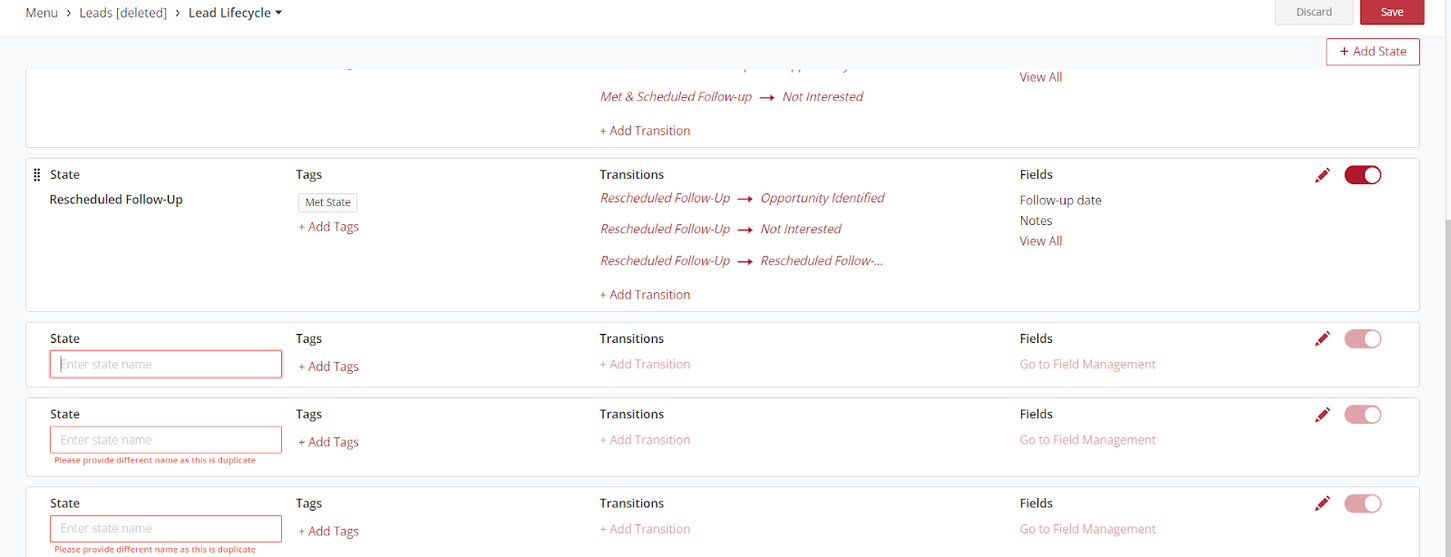
- Tag Addition: Progress to the tag attachment phase.
Results
Upon completing the above steps, you're poised to append tags to your state. Note: The "Save" feature (located top-right) remains inaccessible until tags and transitions are integrated. Post this integration, the state is officially created.
See also
- Lead Lifecycle
- Lead Lifecycle Overview
- How to create a leads module from a template
- How to create lead states
- How to add tags to lead states
- How to create transitions for lead states
- How to configure the state fields for leads
- How to enable or disable lead states
- How to enable or disable lead reassignment
- How to reactivate closed leads
- How to configure lead allocation rules
- How to specify the role permissions for the lead modules
- How to configure the lead reactivation behavior