Vymo Playbook Feature User Guide
Overview
Vymo's Playbook is a powerful automation tool designed to streamline actions and processes within your Vymo application. By creating playbooks, you can automate tasks such as sending messages, updating lead states, and more. The Playbook feature is available in self-serve mode, allowing you to configure, activate, edit, and duplicate playbooks based on your needs.
Playbook Components
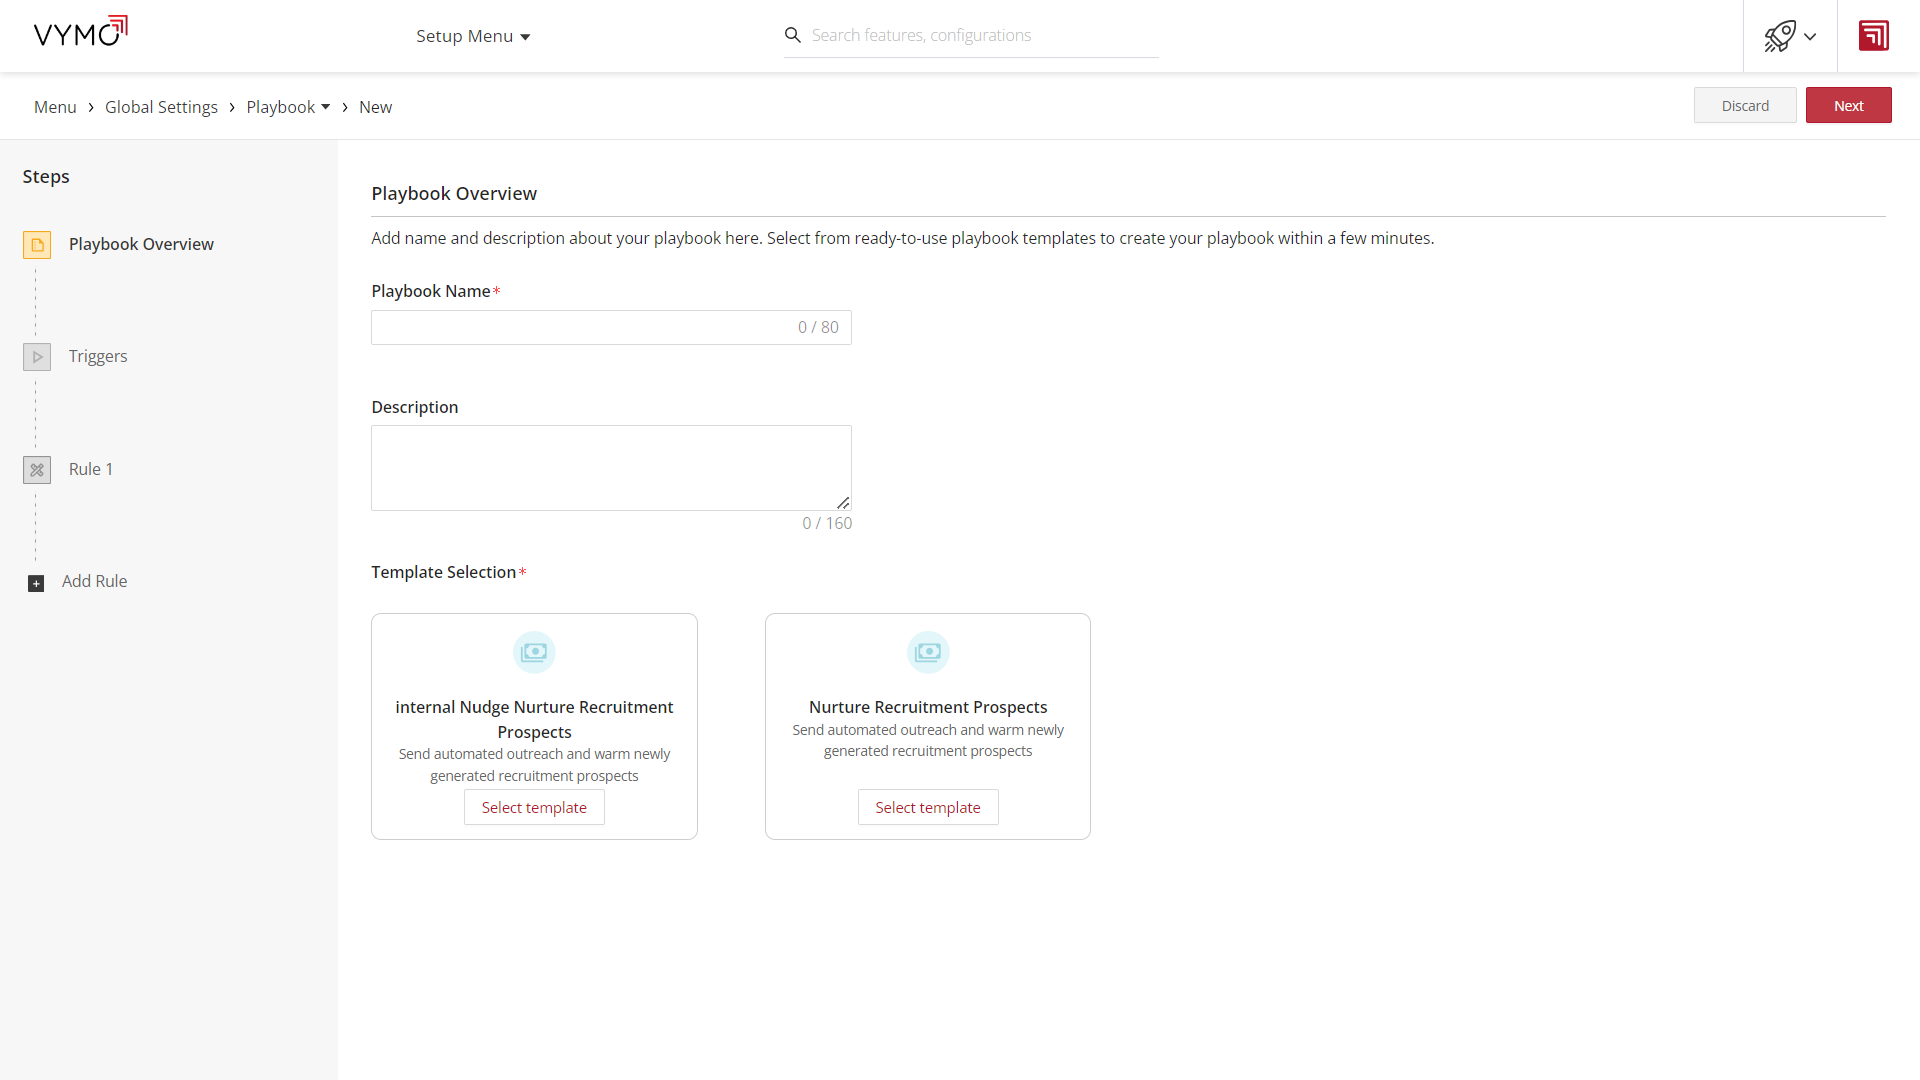
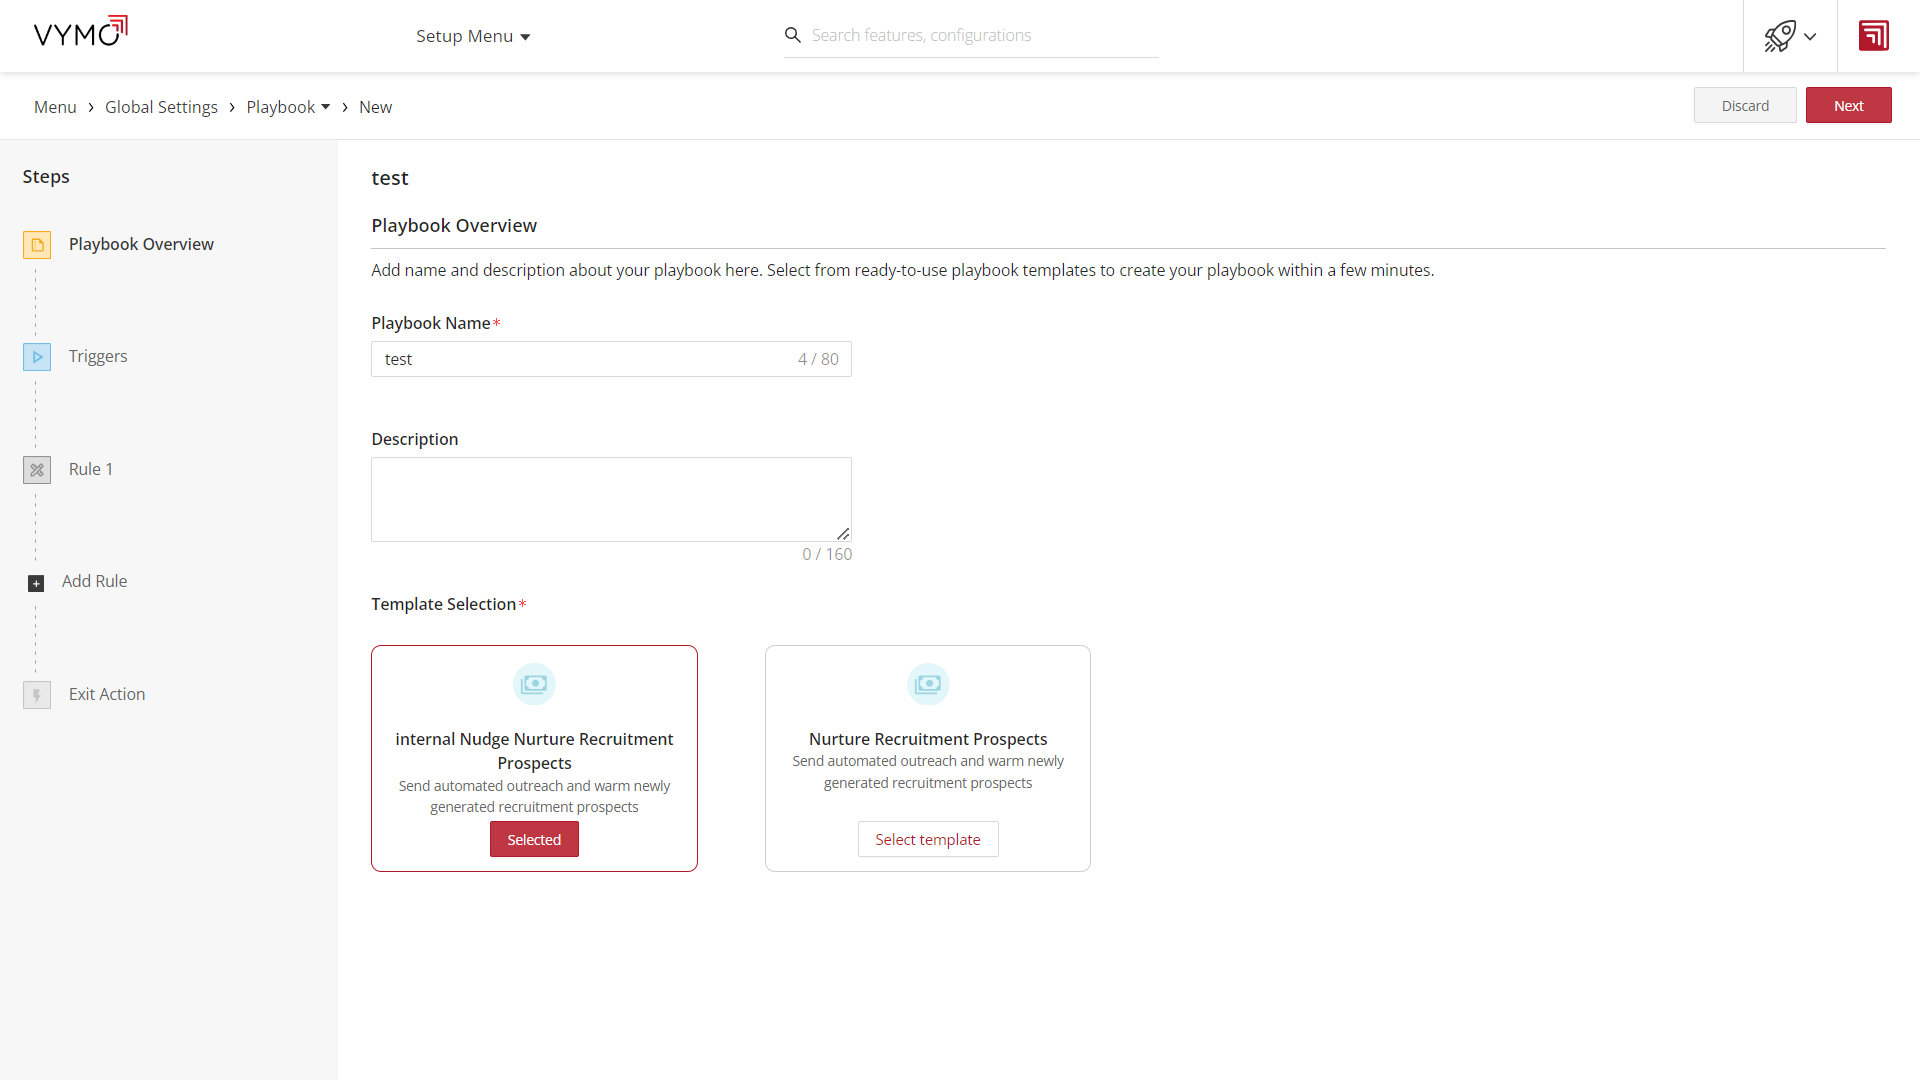
Playbook Overview:
Define the name and description of your playbook.
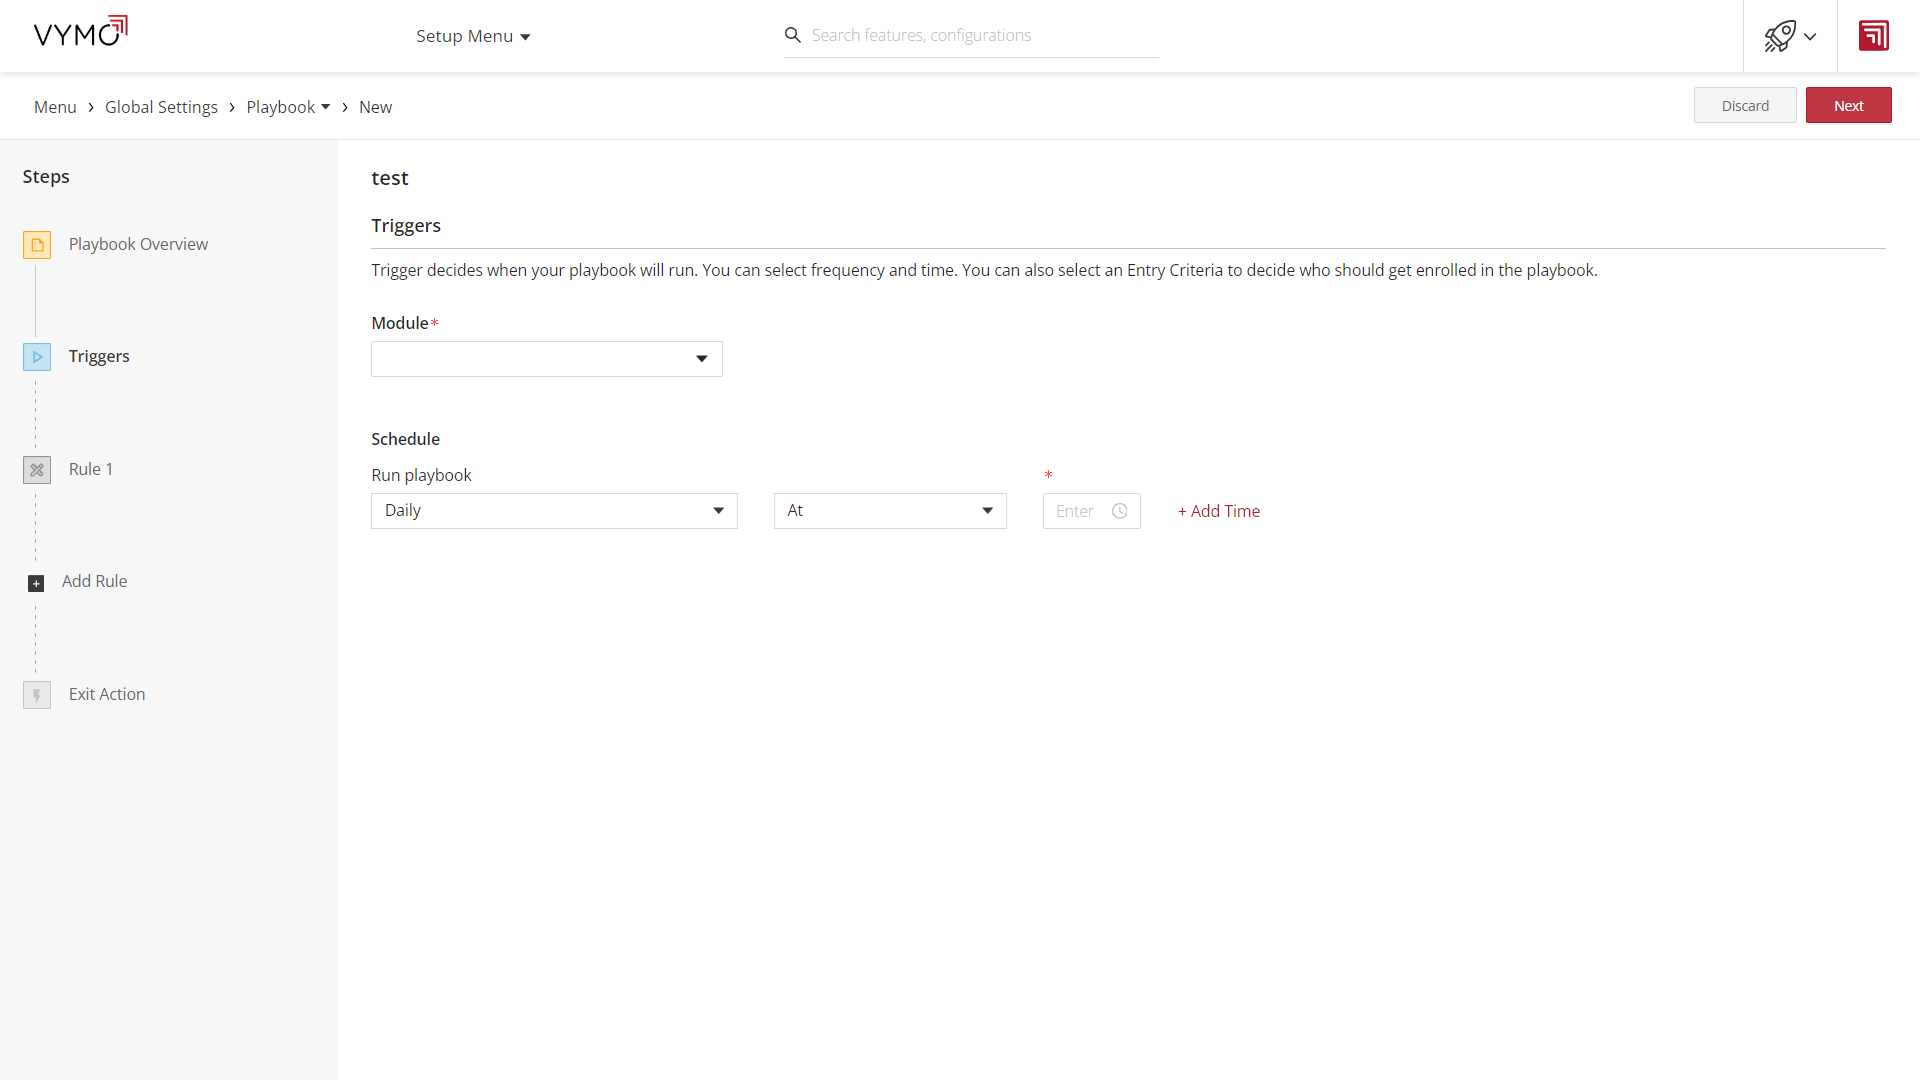
Triggers:
Determine when the playbook will run, including frequency and specific times.
Rules:
Set conditions and associated actions to be executed.
Exit Action:
Optional actions executed when no other conditions are satisfied.
Creating a Playbook
Step 1: Playbook Overview
- Name Your Playbook: Assign a unique name that reflects the purpose of the playbook.
- Description: Provide a detailed description of what the playbook is intended to do.
- Template Selection: Choose from available templates provided by Vymo.
Step 2: Triggers
- Module Selection: Choose the module (e.g., prospects, leads) on which the playbook will run.
- Schedule: Decide whether the playbook will run at specific times daily or at regular intervals (e.g., every 15 minutes).
- Entry Criteria: Filter the selected module to target a specific audience (e.g., prospects in a 'new' state).
Step 3: Rules
- Rule Name: Give each rule a distinctive name for easy identification.
- Conditions: Define conditions that, when met, will trigger the actions (e.g., prospect creation date).
- Actions: Choose from available actions like internal nudges, external nudges, or lead state updates. Configure each action's details, like communication channels or lead state changes.
Step 4: Exit Action
- Action Selection: Pick actions such as internal nudges or lead state updates to execute if no other rule conditions are met.
- Communication Channel: For internal nudges, select the communication channel (e.g., in-app suggestion, email, SMS).
- Lead State Update: Set a new lead state to be applied automatically.
Step 5: Save and Activate
Once all components of the playbook are configured, save your playbook. You can activate it to start running based on the triggers and conditions set.
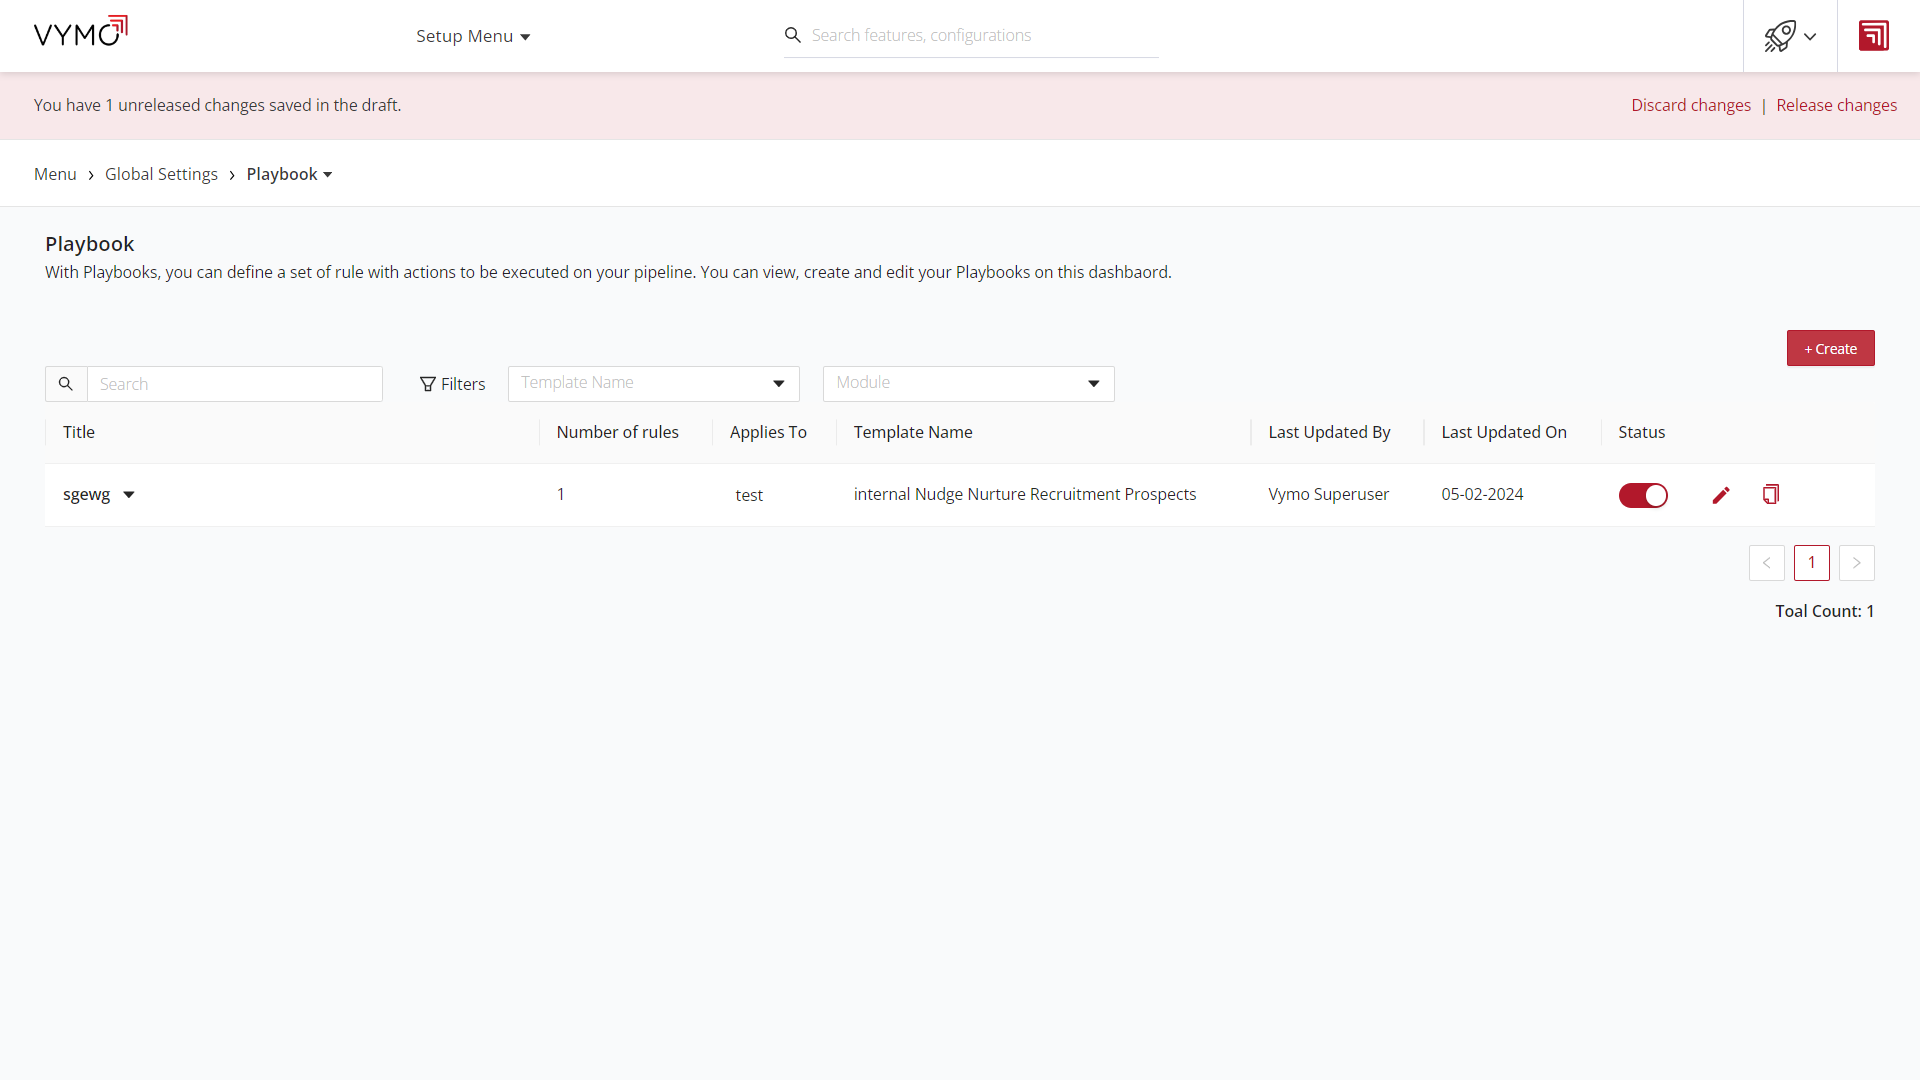
Managing Playbooks
- View Dashboard: See all configured playbooks, and their status, and manage them effectively.
- Edit: Make changes to existing playbooks as required.
- Duplicate: Create a copy of an existing playbook for similar but distinct use cases.
- Activate/Deactivate: Toggle the status of playbooks to control when they are active and running.