Activity roll up
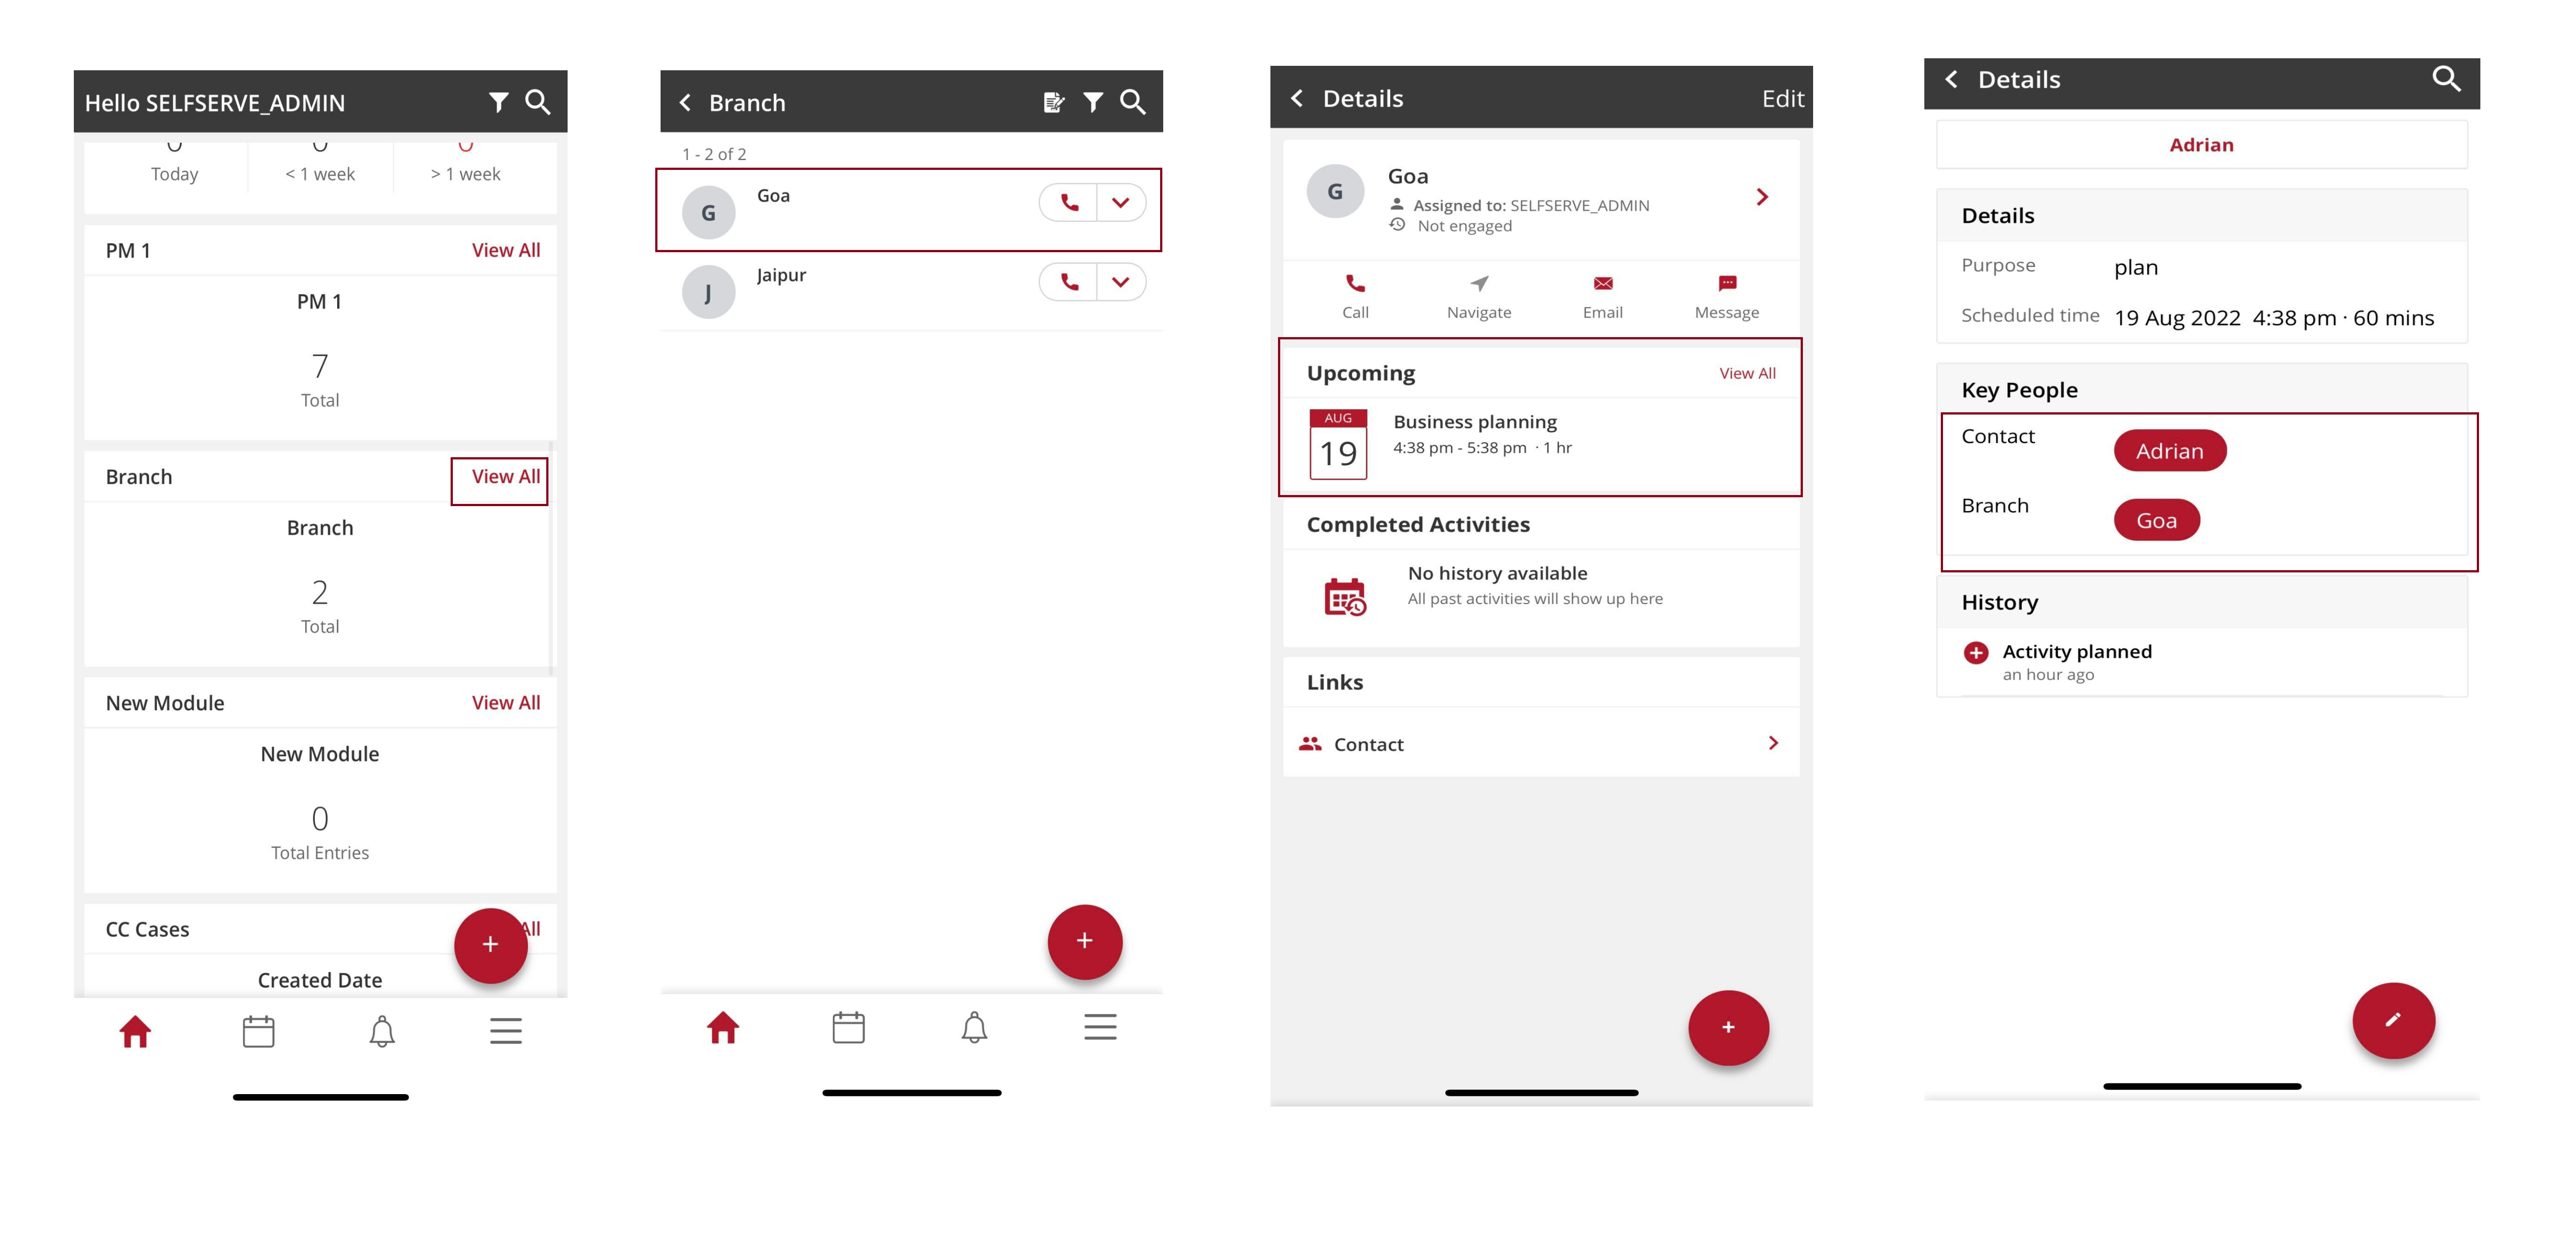
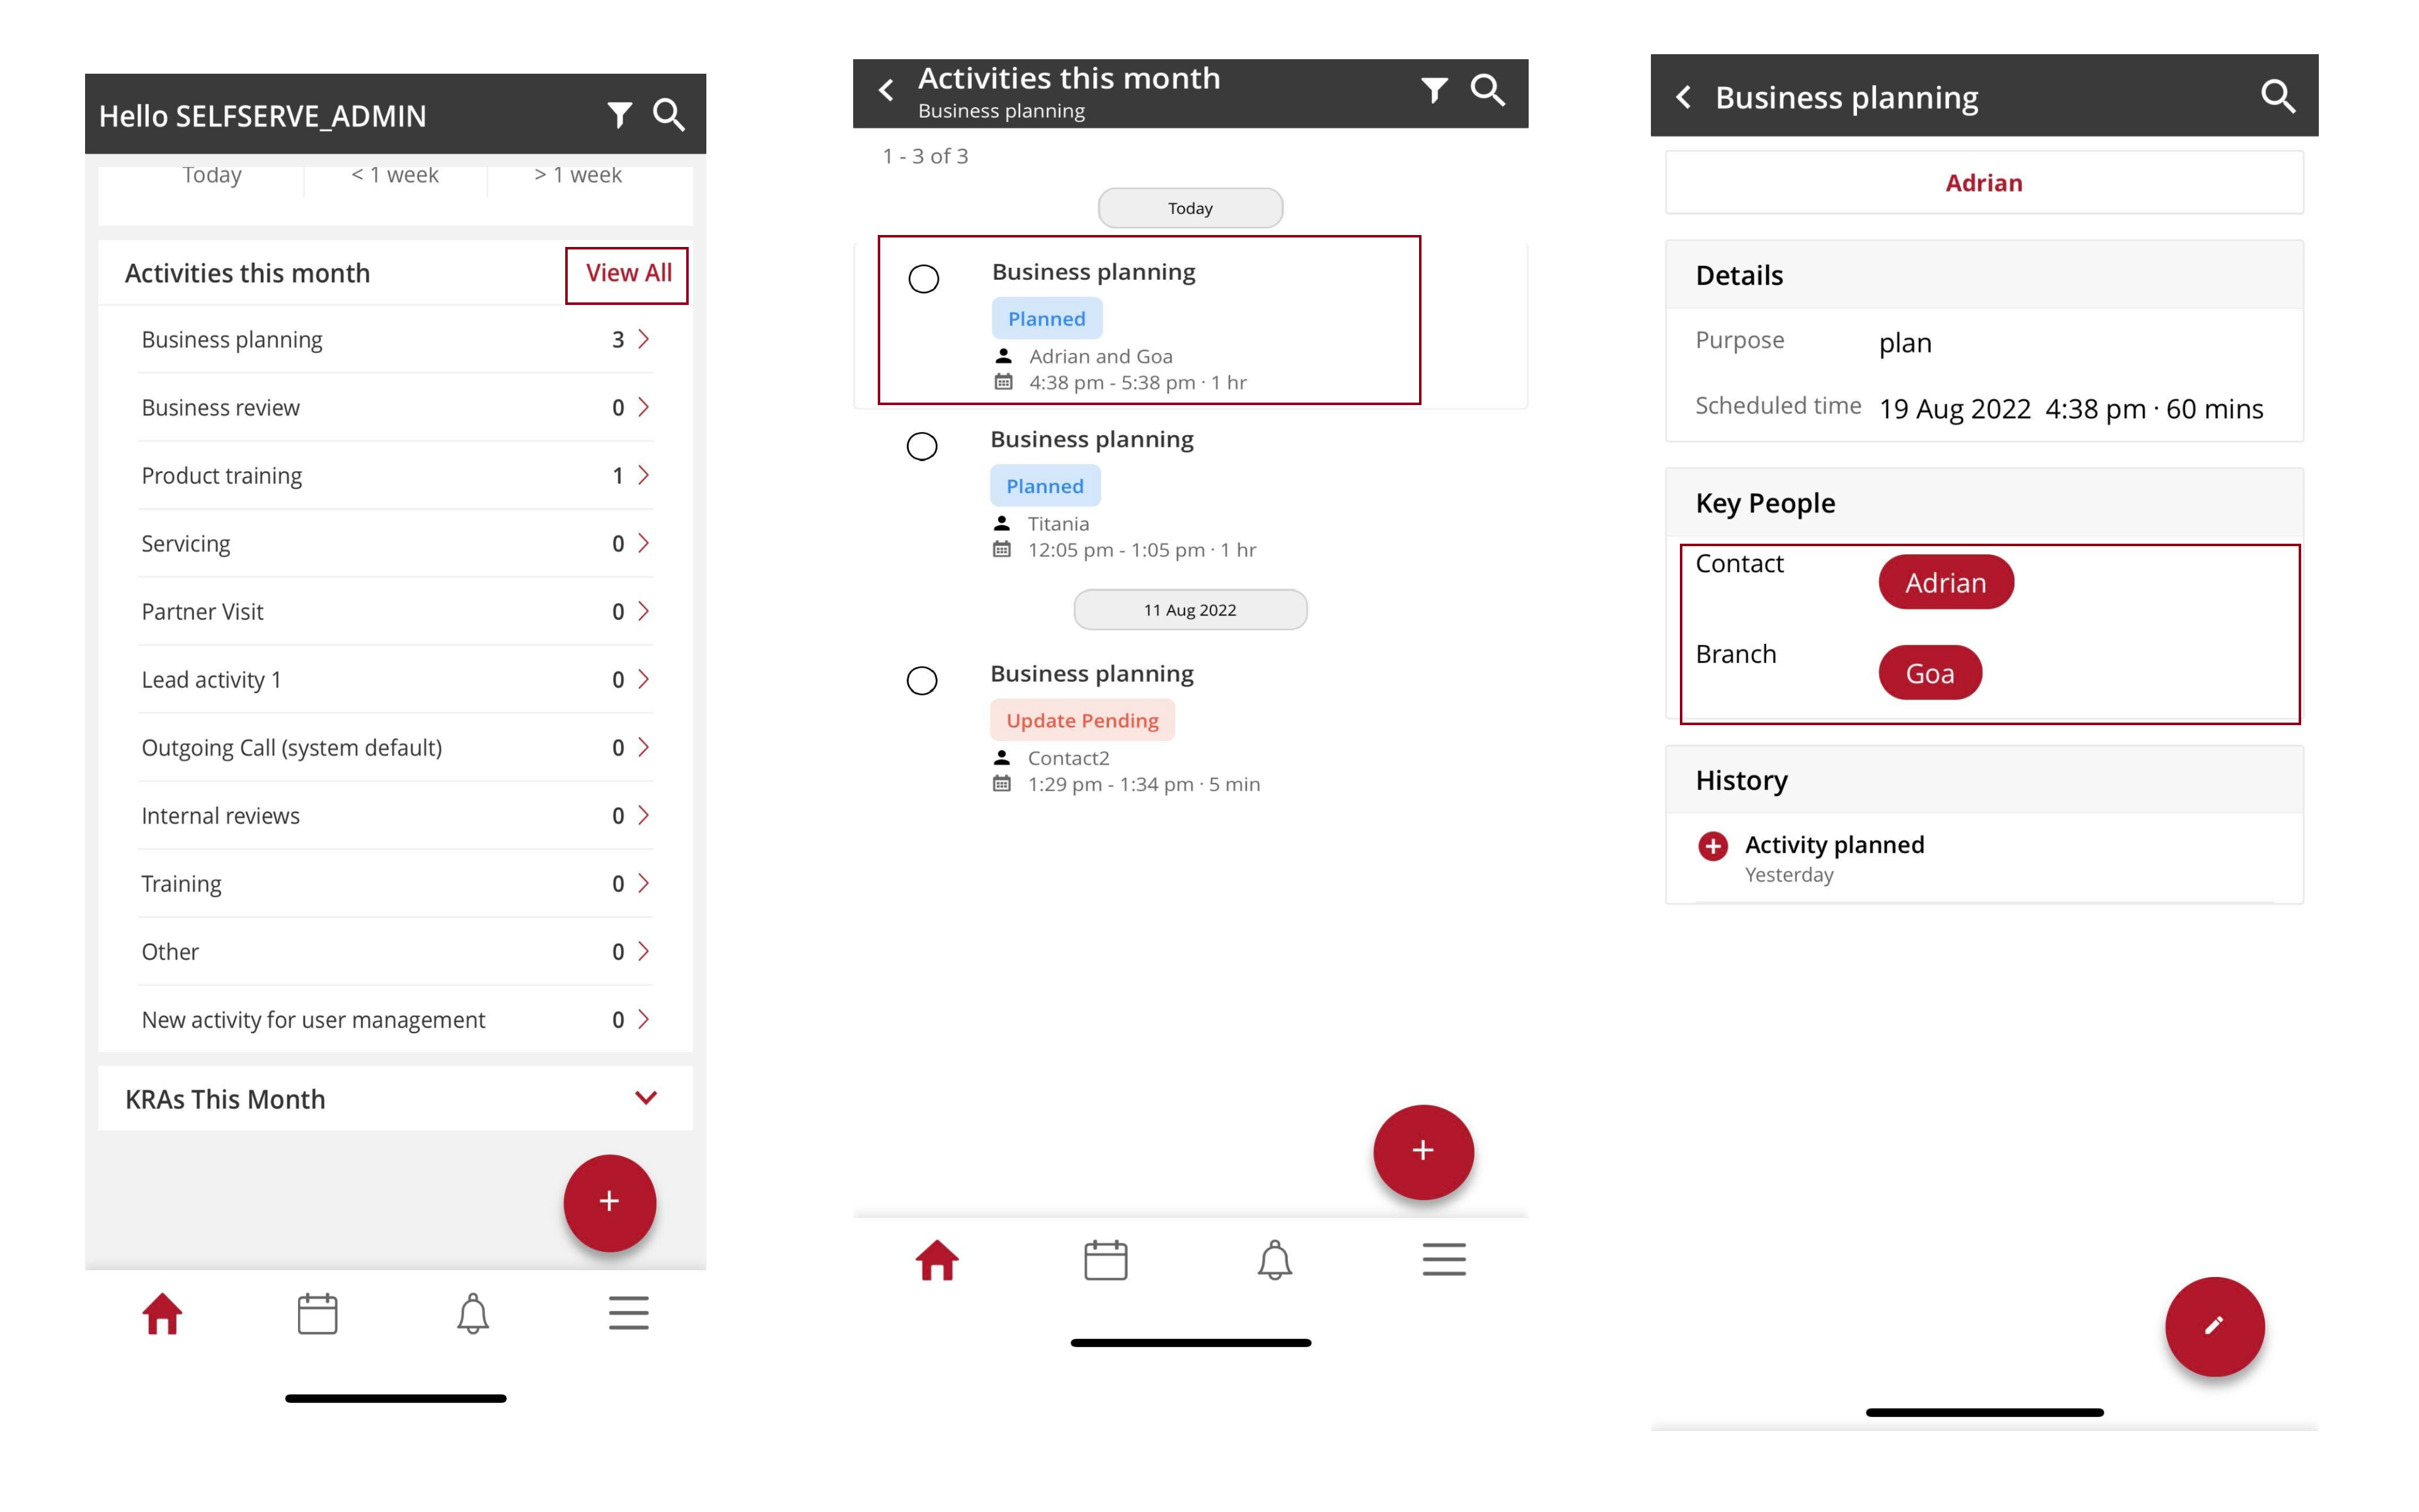
Using activity roll up, view details of scheduled and logged in activities with contact or personas of specific branch on multiple records associated to those activities .
With activity roll up linking two modules is possible.
Use case
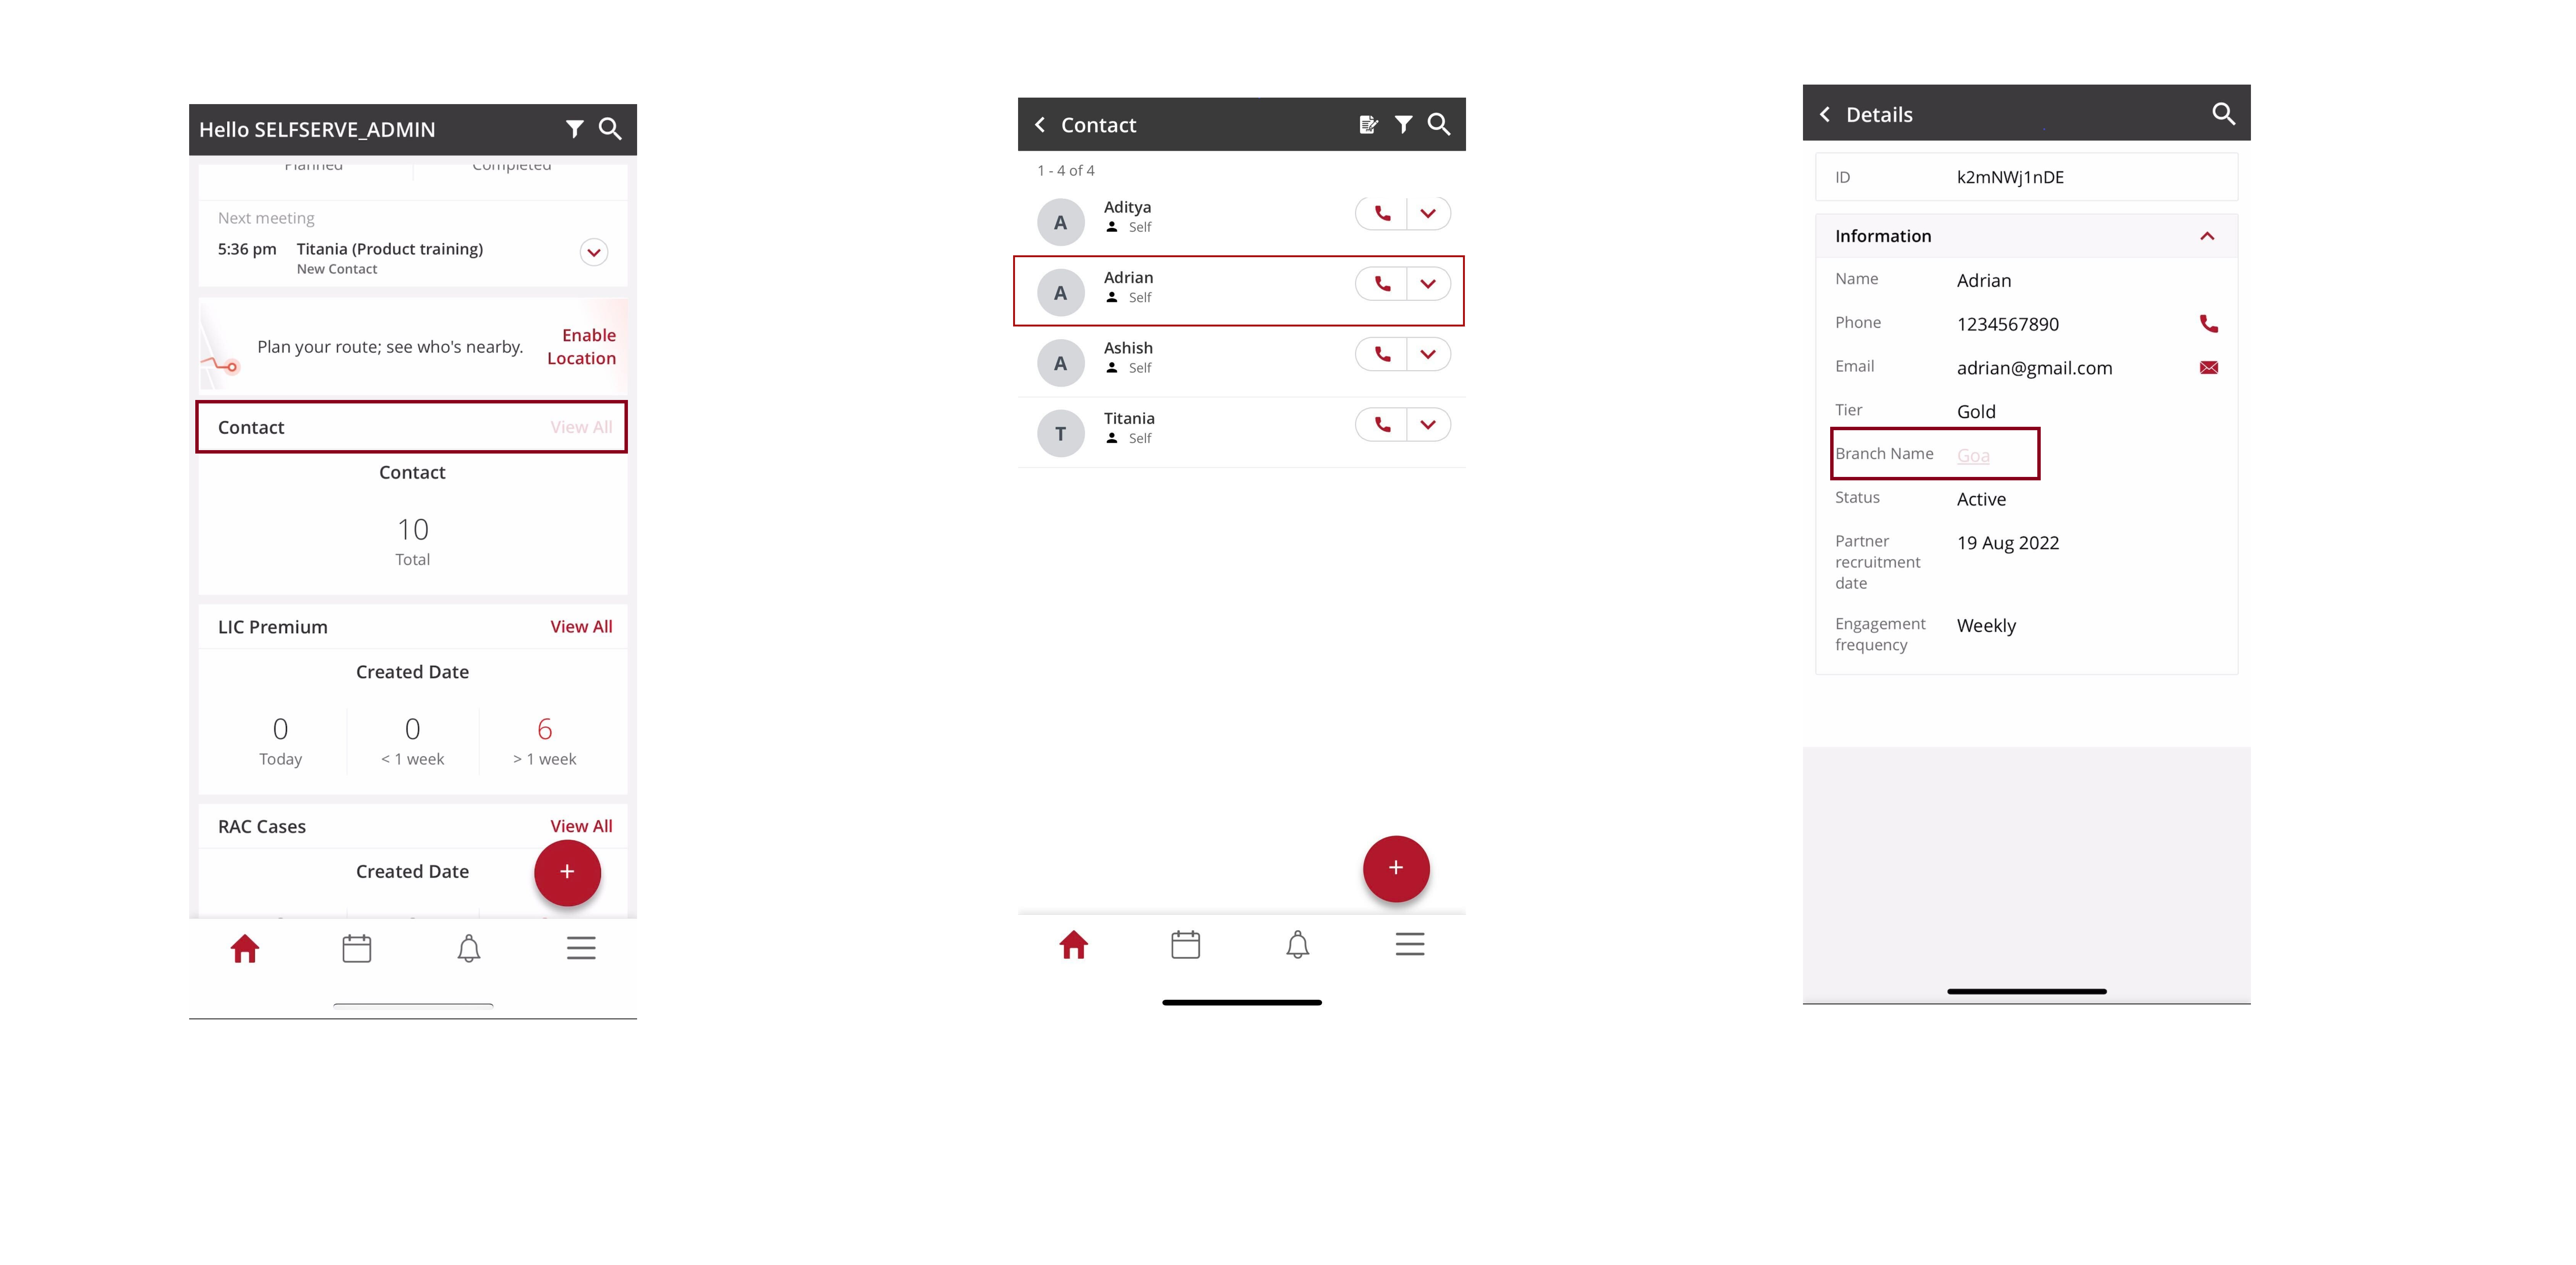
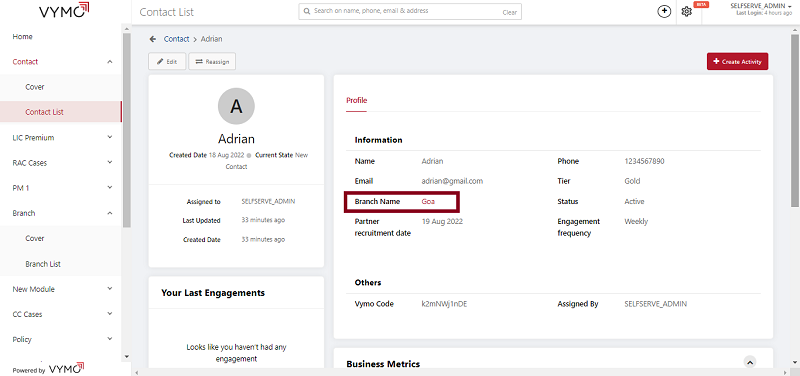
When you create a contact from a specific branch in a module, add that branch as one of the fields. A link between the contact and branch is created. Details of any activity logged in or scheduled with the contact reflects in that specific branch records. The branch here is a referral field which helps in connecting modules.
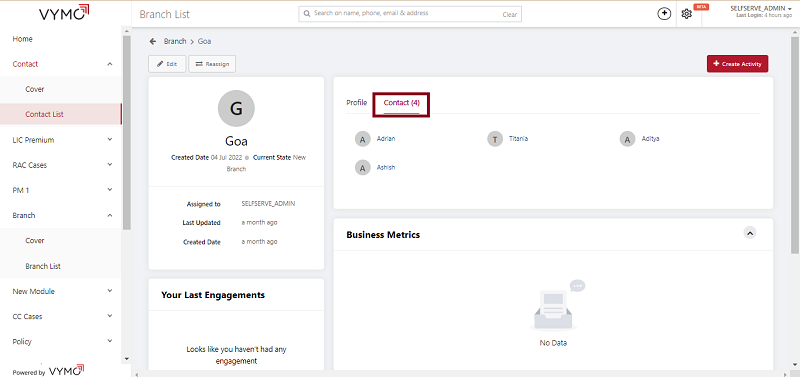
Activity roll up links different modules. You can view details of those who have done activities with a specific branch in the branch module.
Prerequisite
To roll up activities of one module to another, select the other module as source in referral field.
Steps
- Log in to Vymo web app and click the gear icon :octicons-gear-16: in the upper-right corner of the screen.
- Select a module and go to Field Configuration.
- Drag Referral field from the Add New list to the centre to create a referral field. See how to create referral field
- Fill in the basic information.
- Select a source module, which you want as a referral from the dropdown in Field Level Settings. You can add multiple referral fields.
- Click Save. You see a message that the changes are now saved as a draft.
- In the message box, click Go To Release Management so that you can move the changes permanently to the live configuration.
- Click Create a UAT release. Specify the release details and make sure to enter your own email ID because that's where you receive a one-time password (OTP) to continue with the process. Click Proceed.
- Enter the OTP you received in the email, and click Submit. Wait for a while till you see a confirmation message saying the process is complete.
- To see the changes, log out and log in again.
Enable activity roll up
- Log in to Vymo web app and click the gear icon :octicons-gear-16: in the upper-right corner of the screen.
- Go to Global Settings > JSON Configuration > Features.
- Navigate
activity_referral_rolled_upin the JSON Code and change thedisabledkey tofalseto enable activity roll up feature.{ "disabled": false, "order": null, "type": "generic", "code": "activity_referral_rolled_up", "name": "Activity Referral Rolled Up", "properties": {} } - Click Save. You see a message that the changes are now saved as a draft.
- In the message box, click Go To Release Management so that you can move the changes permanently to the live configuration.
- Click Create a UAT release. Specify the release details and make sure to enter your own email ID because that's where you receive a one-time password (OTP) to continue with the process. Click Proceed.
- Enter the OTP you received in the email, and click Submit. Wait for a while till you see a confirmation message saying the process is complete.
- To see the changes, log out and log in again.
Note
Enabling activity referral roll up at feature level enables the feature for all the activities in leads and partners module. The feature isn't enabled for user activities.
Enable activity roll up at activity level
Note
Activity roll up is enabled for all the activities if it is enabled at feature level. Customise the enablement for specific activities using activity level configuration.
- Log in to Vymo web app and click the gear icon :octicons-gear-16: in the upper-right corner of the screen.
- Go to Global Settings > JSON Configurtaion > Vo Tasks.
- Select the activity you want to enable or disable the feature for and navigate
disableReferralRollup. - To enable activity roll up, change the value of
disableReferralRolluptofalse. Change it totrueto disable it.1 2 3 4 5 6 7 8 9 10 11 12 13 14 15 16 17 18 19 20 21 22 23 24 25 26 27 28 29 30
{ "category": "vo_task", "code": "outbound_call", "deleted": false, "attributeValueMappings": null, "name": "Outgoing Call", "quickName": "Schedule Call", "type": "outbound_call", "descAttributes": null, "actionsEnabled": [ "reschedule", "edit", "cancel", "complete" ], "canSchedule": false, "canLog": false, "disableReferralRollup": false, "canFollowUp": false, "vos": [], "participants": [], "assignees": [], "engagement": false, "recurring": false, "participationCheck": false, "autoCloseConfig": null, "properties": { "placeHolder": null }, } - Click Save. You see a message that the changes are now saved as a draft.
- In the message box, click Go To Release Management so that you can move the changes permanently to the live configuration.
- Click Create a UAT release. Specify the release details and make sure to enter your own email ID because that's where you receive a one-time password (OTP) to continue with the process. Click Proceed.
- Enter the OTP you received in the email, and click Submit. Wait for a while till you see a confirmation message saying the process is complete.
- To see the changes, log out and log in again.
Results