Geo Verified Attendance User Guide
Enabling Geo Verified Attendance
- Access the Vymo web app and navigate to self serve.
- Go to the 'Global Settings' section and select 'Feature Management'.
- Find 'Geo Verified Attendance' and check the box for 'Enable Check-in' to activate the feature.
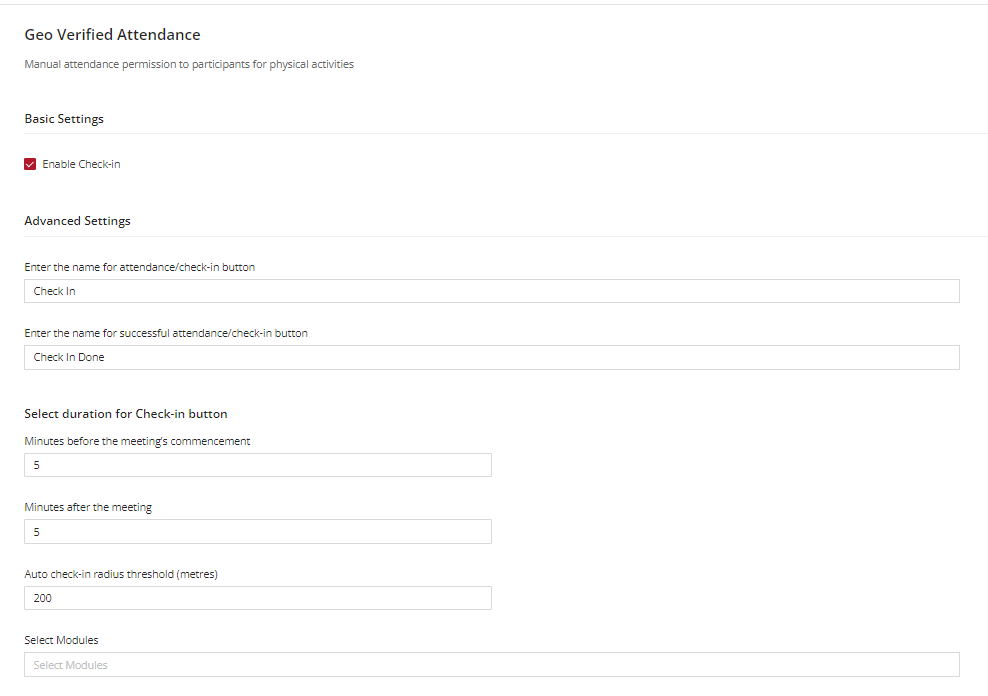
Setting Up Advanced Settings
Customize Button Labels:
- Define the label for the attendance/check-in button, such as "Check In".
- Specify the label for successful attendance/check-in, e.g., "Check In Done".
Buffer Time Configuration:
- Set a duration before the meeting's commencement, like 5 minutes when check-in is possible.
- Determine a duration after the meeting's end, also 5 minutes, for late check-ins.
Geo-Radius Threshold:
- Establish an auto check-in radius, such as 200 meters, to validate presence at the meeting location. It is recommended not to reduce the radius below 200 meters for better results.
Module Selection:
- Choose applicable modules or activities for which the check-in feature should be available by clicking 'Select Modules'.
After configuring the settings, make sure to save your changes.
Release the updated settings to make them live for end-users.
User Guide
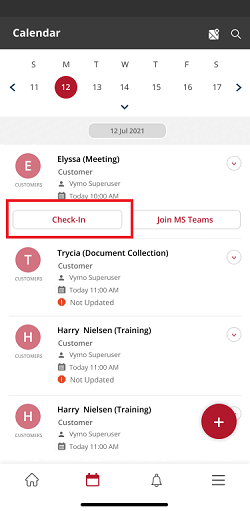
Mobile App Check-In:
- Open the Vymo mobile app when you arrive at or near the meeting location.
- Tap the 'Check In' button to mark your attendance.
Successful Check-In:
- Upon successful check-in, your attendance is automatically logged, and the button will indicate "Check In Done".
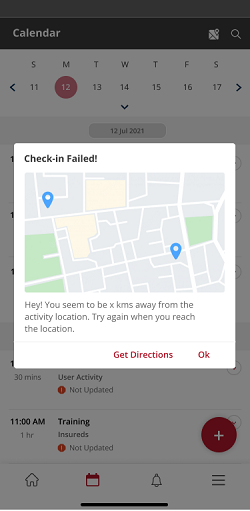
Failed Check-In:
- If you're outside the pre-defined radius, the app will prompt you to move closer to the meeting location to check in successfully.
See also
- Feature Management